What to Do When QuickBooks Bank Feeds Not Working?
May 16, 2026
May 13, 2026
Admin |
Estimated Read Time : 5 MIN
Whether you are a new user or an existing one, installing software or updates can sometimes be challenging. Even a weak or unstable internet connection can interrupt the installation process and prevent updates from being completed successfully. In such cases, you may encounter QuickBooks error 1317, accompanied by the following warning message:
“Error 1317: An error occurred while attempting to create the directory.”
This error typically occurs when QuickBooks is unable to access the required folder for installation or an update. Insufficient user permissions, a corrupted installation folder, or interference from antivirus/security software may cause it. Learn about the suitable fixes and more in this detailed guide.
Before applying any fixes, let’s explore the possible reasons behind QuickBooks install error 1317. Identifying the root cause can help you choose the most appropriate solution.
Now that we’ve explored the possible causes, let’s walk through the practical steps you can take to fix QuickBooks Error 1317 and complete the installation successfully.
Restarting a computer can help resolve QuickBooks error 1317 by clearing temporary system memory, stopping background processes that may be locking company files, and resetting Windows installer components. A reboot refreshes system resources, reestablishes proper folder permissions, and releases any file path restrictions that may be preventing QuickBooks from accessing required directories.
Make sure your computer’s date and time settings are correct, as inaccurate settings can interfere with connections required for software or the update installation.
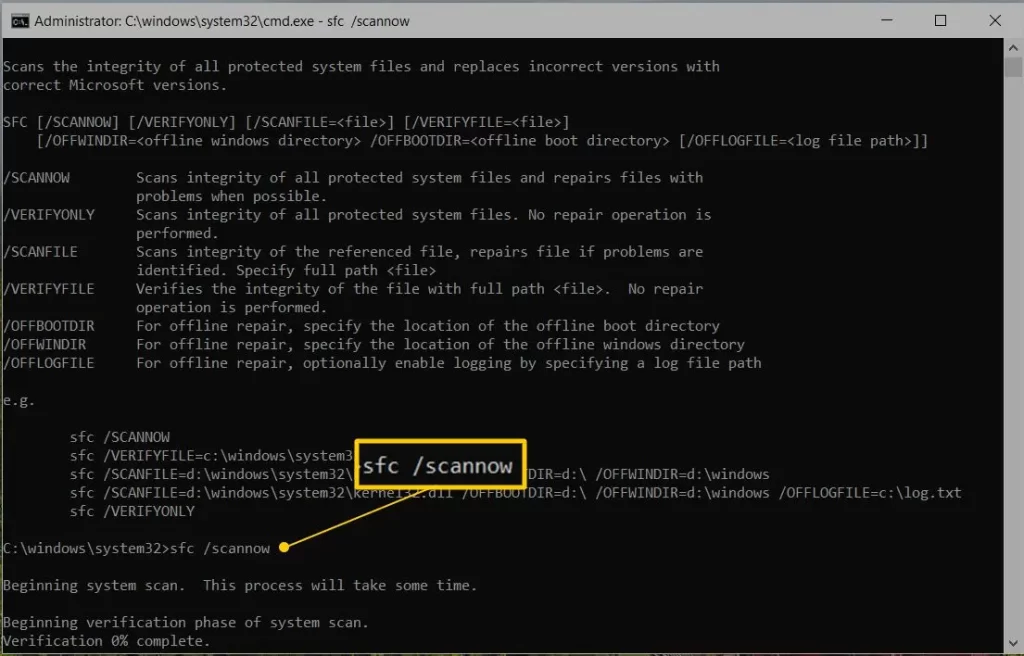
Running the System File Checker (SFC) scan can help fix QuickBooks installation errors by detecting and repairing damaged or corrupted Windows system files that may be preventing the software from installing properly.
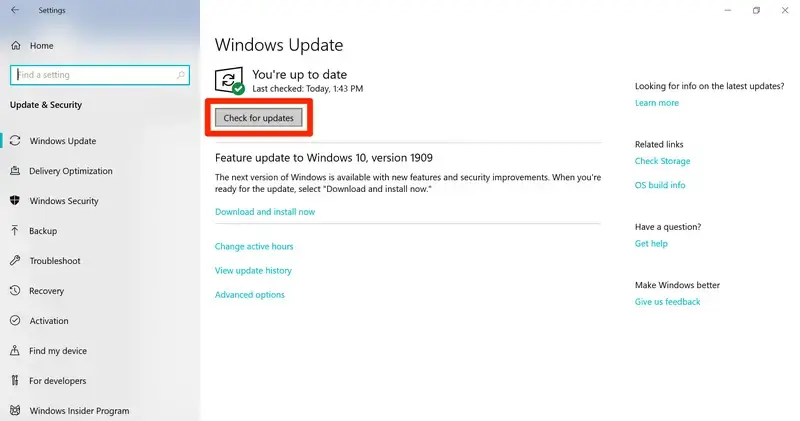
An updated and compatible Windows operating system is essential for running QuickBooks smoothly and avoiding installation or performance issues. Follow these steps to install the latest Windows updates:
If the QuickBooks Install Tool and Windows updates didn’t resolve the error, you may need to manually repair specific Windows components.
Only perform these steps if you are an IT professional, an experienced Windows user, or working under the guidance of Microsoft Support. Incorrect changes to Windows components can cause system instability or additional issues.
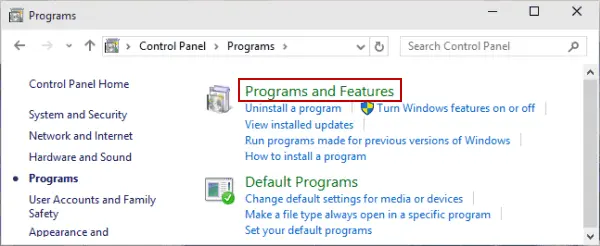
Follow these steps to check and enable the required .NET Framework components:
Note: The steps to repair or enable .NET Framework 4.5, 4.6, 4.7, and 4.8 are the same.
If you make any changes, restart your computer to apply them.
Check NET Framework 4.5 (or later)
If the .NET Framework 4.5 (or later) checkbox isn’t checked:
If the .NET Framework 4.5 (or later) checkbox is already checked:
Check NET Framework 3.5 SP1
If the .NET Framework 3.5 SP1 checkbox isn’t checked:
If the .NET Framework 3.5 SP1 checkbox is already checked:
If you encounter an error when enabling or disabling .NET Framework, contact an IT professional or Microsoft Support. This may be an issue with your operating system rather than QuickBooks.
Register MSXML with the following steps for a 64-Bit operating system:
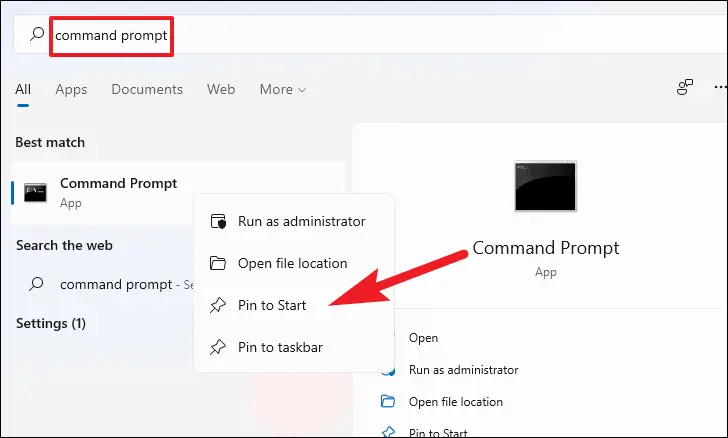
Register MSXML with the following steps for a 32-Bit operating system:
QuickBooks Error 1317 occurs when Windows cannot create or access a required directory during installation or updates. As a result, the setup process may stop unexpectedly, files may fail to install correctly, and users may be unable to open or update the company file.
Properly configuring the folder and Windows access permissions and ensuring full system access helps prevent installation interruptions, reduces the risk of recurring errors, and allows QuickBooks to run and update without directory-related conflicts.
Let’s make sure the software installation or program files are not damaged and are not causing problems when trying to install any updates, and are not causing QuickBooks error 1317:
Important Note: Download and install QuickBooks Tool Hub (1.6.0.8), the most recent version available.
a. Run Quick Fix My Program
The Quick Fix tool stops any QuickBooks background processes and performs a quick repair to fix common program issues.
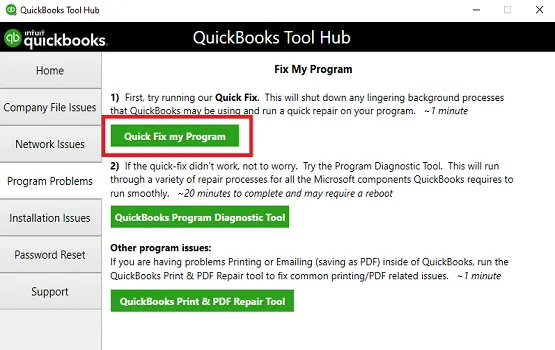
b. Run the QuickBooks Install Diagnostic tool.
If QuickBooks didn’t install correctly, it can trigger errors when opening or using the program. Running the QuickBooks Install Diagnostic Tool can automatically detect and fix common installation problems.
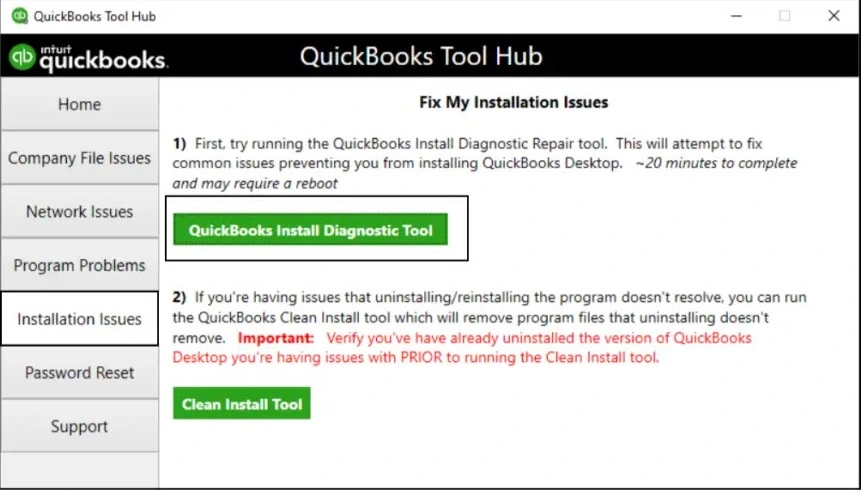
Reinstalling QuickBooks Desktop, specifically using a “clean install” process, resolves error 1317 (which indicates an inability to create a file/folder due to permission restrictions or damaged files) by resetting system permissions, deleting corrupted installation files, and re-registering components. This process ensures the application has the necessary access to the installation drive.
Whether it’s the software installation or updates, both are equally crucial, and any interruption can make it challenging to get started managing your business with QuickBooks. By following this guide, you may be able to resolve QuickBooks Error 1317 and ensure the installation runs smoothly.
What is error code 1317 in QuickBooks?
QuickBooks Error 1317 is an installation or update error occurring when the software cannot create a necessary directory (folder) on your computer, often manifesting as “Error 1317: An Error occurred while attempting to create the directory.”
How do I fix error code 3371 in QuickBooks?
To fix QuickBooks error 3371 (license/registration issue), the most effective solution is to use the QuickBooks Tool Hub and run the 3371 Error Fix tool. Alternatively, you can delete the EntitlementDataStore.ecml file to force a re-registration or run Windows Updates.
How to fix QuickBooks error 1317?
To fix QuickBooks error 1317, run the QuickBooks Tool Hub, specifically the Program Diagnostic Tool, adjust folder permissions for “Everyone” to “Full Control” or run the installer as an administrator.
Can QuickBooks error 1317 affect company files?
No, this error generally occurs during installation or update. It does not directly damage your company files, but you won’t be able to use QuickBooks properly until the issue is resolved.
Does antivirus software cause QuickBooks error 1317?
Yes, sometimes antivirus or firewall programs may block installation files from creating the required folders. Temporarily disabling security software during installation may help.

QuickBooks Desktop 2023 is ending — Upgrade QuickBooks Desktop 2023 to 2024 for continued performance and support.
What to Do When QuickBooks Bank Feeds Not Working?
May 16, 2026
What are QuickBooks Timesheets & How to Employ Them?
May 16, 2026