QuickBooks Workforce is an Intuit application that integrates with both QuickBooks Online and QuickBooks Desktop. It allows business owners to invite employees to access important payroll documents, including pay stubs, W-2s and W-3s, and more.
However, you might encounter the ‘We weren’t able to show payroll info’ error in QuickBooks Online, which is often due to common browser or system issues. Whether you’re an employee or an employer, this problem can make it difficult to access essential payroll information.
This guide explores the reasons you may be unable to view payroll information and provides solutions to resolve the issue quickly.
Why Do I See ‘We Weren’t Able to Show Payroll Info’?
Below is a list of multiple reasons why QuickBooks Workforce is unable to show payroll info to employees:
- General system issues
- Expired cookies and caches in the browser
- Browsing history and other data can affect QB performance.
- The browser might be outdated
- Outdated or unsupported browser version
- Using an incorrect password when logging in
Learn More – System Requirements for QuickBooks Workforce
What to Do When You Fail to Access Payroll Info in QuickBooks Workforce?
Let’s take the necessary steps to resolve the issues mentioned above and ensure that you, as an employee, can access your payroll information in QuickBooks Workforce:
1. Restart your computer
Restarting your computer can resolve common issues such as RAM glitches. In QuickBooks, it helps by refreshing system resources, closing unnecessary background processes, and clearing temporary files, which can resolve slow performance, crashes, or errors, ensuring smoother operation.
2. Clear the excessively stored cookies & caches
If cookies and caches are stored excessively or have expired, it will impact all software or processes running in the browser. Here’s how to clear this data in different browsers:
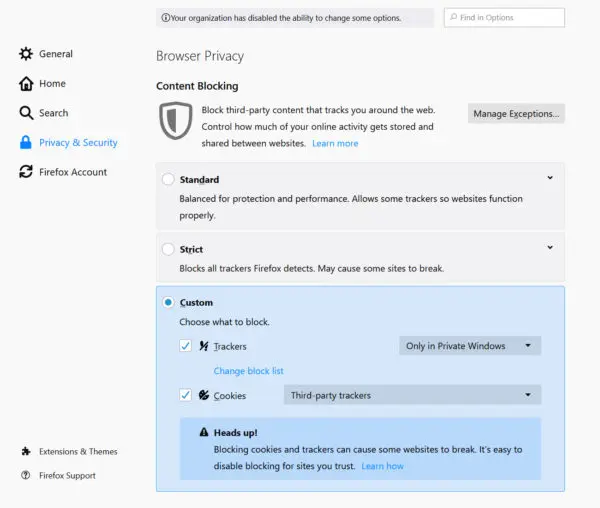
a. Firefox
- Click the Hamburger icon, then select Settings.
- Go to the Privacy & Security panel.
- Click on Clear Data in the Cookies and Site Data section.
This will open the Clear browsing data and cookies dialog.
- Next to When:, choose Everything from the drop-down menu. Make sure only the Temporary cached files and pages option is selected.
- Click on Clear.
- Exit the Settings page.
- All the changes you’ve made will be saved automatically.
b. Google Chrome
- Open Google Chrome on your computer.
- Click More at the top right, then select Delete browsing data.
- Select a time range to clear the data, such as Last hour or All time.
- Choose the types of information you wish to clear.
- Click on Delete data.
If you are clearing cookies when signed in to Chrome, Chrome will automatically refresh the Google cookies that keep you signed in. This ensures that Chrome continues to work as you expected. To delete those cookies as well, sign out of Chrome first.
c. Safari for Mac
- Launch the Safari app on your Mac.
- Go to History > Clear History, and click on the pop-up menu.
- Choose how far back you want to clear your browsing history.
d. Safari for iPad and iPhone
- Go to Settings, select Apps > Safari.
- Scroll below and click on Clear History and Website Data.
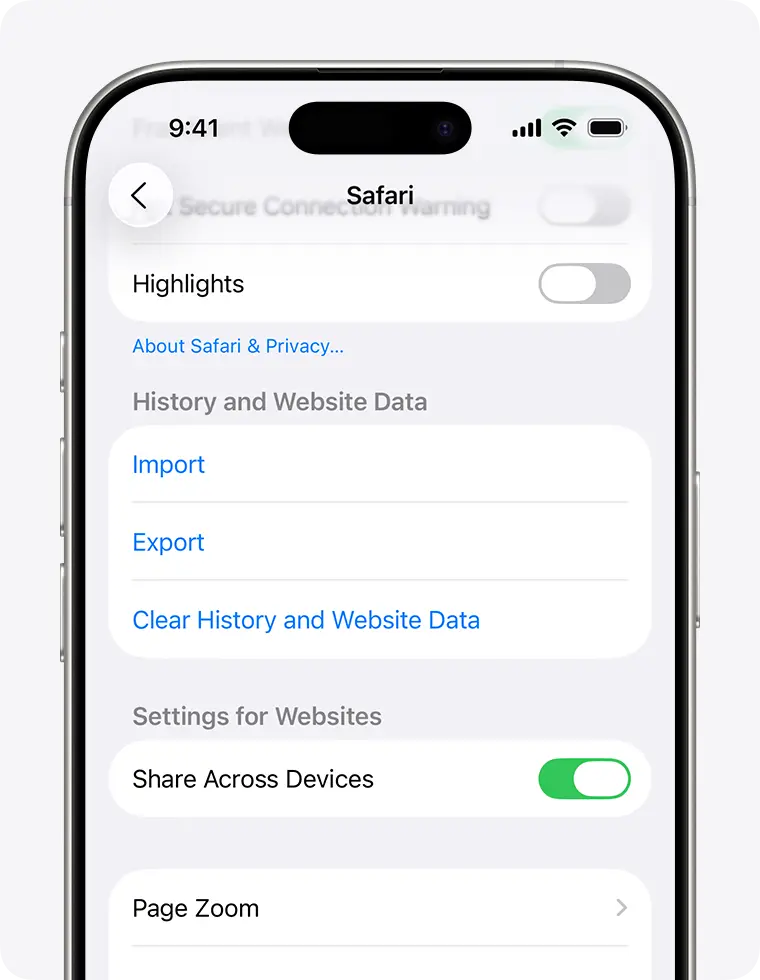
Confirm the timeframe you’d like to clear, then tap Clear History. This won’t affect your AutoFill data. If the button is gray, there may be no data to clear, or you may need to review your web content restrictions in Screen Time.
e. Microsoft Edge
- Go to Settings and more > Settings > Privacy, search, and services.
- Click on Clear browsing data, then choose what to clear next to Clear browsing data now.
- Now, choose a specific time range from the drop-down menu from the drop-down menu under Time range.
- Select the specific browsing data you wish to remove.
For example, you should clear browsing history and cookies while retaining passwords and form autofill data.
- Hit on Clear now.
Once done, restart your computer.
3. Open QuickBooks Online in an incognito browser
If clearing cookies and caches does not resolve ‘We weren’t able to show your payroll info in Workforce,’ try using a private window to access payroll information in QuickBooks Workforce.
- Google Chrome: Press Ctrl + Shift + N
- Mozilla Firefox and Microsoft Edge: Press Ctrl + Shift + P
- Safari: Press Command + Shift + N
4. Use another supported browser
Make sure you use a recent, compatible, and supported version of the browser:
- Google Chrome: version 78 or newer
- Mozilla Firefox: version 76 or newer. Note: To preview and print forms on macOS, you must also install the Firefox PDF plugin.
- Microsoft Edge: version 79 or newer
- Safari: version 12 or newer (Mac only)
- Opera: version 68 or newer
- Samsung: version 10 or newer
5. Make sure the QuickBooks Online subscription is active
A QuickBooks Online subscription is required because QuickBooks Workforce is an integrated service that allows your employees to access payroll information.
Sign in to QuickBooks Online as a primary admin.
- In the upper right corner, select Settings.
- Click on Account and settings > Billing & subscription.
- The subscription will be shown in the QuickBooks Online Payroll section:
Active, past due, or canceled, with the next billing date and plan details.
- If the subscription status shows as inactive or past due, make a subscription payment and update the information to reactivate it.
6. Try resetting the password
Can’t even log in to QuickBooks Workforce? Reset the user password with the steps below and access your payroll info:
- Open the QuickBooks Workforce sign-in page.
- Under the login box, choose: ‘Forgot your password?’.
- Enter the email address linked to your Workforce account.
- You will receive a verification code from Intuit to that same email address.
- If you don’t find it, check the spam folder.
- Type the verification code in the field.
- Create a new password that meets Intuit’s security requirements (usually a mix of uppercase and lowercase letters, numbers, and symbols).
- Return to the login page and sign in with your credentials: Email/User ID and a New password.
7. Re-invite your employee
If nothing resolves the We weren’t able to show your payroll info error, try sending your employee a new invitation in QuickBooks Workforce to set up their account again.
Conclusion
In conclusion, an employee may encounter the ‘we weren’t able to show payroll information’ issue due to incorrect password, common browser or OS problems, and more. Following this detailed guide will help you resolve these problems promptly, ensuring employees can access their info.
If you need further help, get in touch with QuickBookSupportNet ProAdvisors at +1(866)500-0076. Talk to an expert now!
Frequently Asked Questions
- What’s the error message we weren’t able to show payroll info?
As an employee, you may encounter issues accessing direct deposit information in QuickBooks Workforce due to common system or browser problems, or if you are using an outdated or unsupported browser. Additionally, incorrect password entry or a malfunctioning invitation link can also prevent access to payroll information in QB Workforce.
- Why is my employee not showing up in payroll QuickBooks?
An employee might not be appearing in QuickBooks Payroll because they are on the wrong pay schedule, have a termination date, or have been marked as inactive.
- Why did I fail to access direct deposit in QuickBooks Workforce?
You may be unable to access direct deposit in QuickBooks Workforce due to technical issues, such as incorrect bank information, an inactive or expired payroll subscription, or a poor internet connection.
Other reasons could include delays in payroll submissions, insufficient funds in the company’s payroll account, or problems with the bank.