QuickBooks Desktop Point of Sale is discontinued and is no more available for the users. After the discontinuation of the QuickBooks Desktop Point of Sale from October 3, 2023, users can’t buy QuickBooks POS solution from Intuit. Those who decided to continue using this Intuit POS solution are also compromising with the security patches and customer support.
The current users are taking complete responsibility for troubleshooting the technical issues in the POS program. How this discontinuation has affected the users, and what are the important considerations related to this discontinuation are all discussed in this post. Let’s explore!
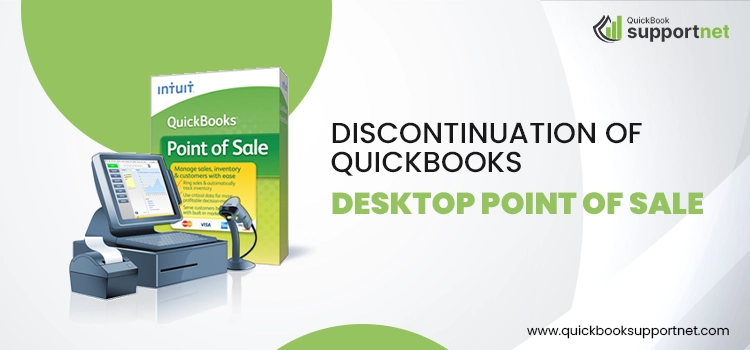
QuickBooks Desktop Point Of Sale Discontinued – What You Need To Know?
QuickBooks Desktop POS discontinued on October 3, 2023. It is not like the general QuickBooks Desktop product discontinuation, but a complete shut down for the Intuit POS solution. QuickBooks generally discontinues providing support for Desktop versions after three years.
For instance, if you have purchased QuickBooks Desktop 2022, it will be discontinued in 2024. However, this is not the case with QuickBooks Desktop Plus, which is a subscription-based service and you need to pay annual subscription fee, which also includes the cost of product upgrade.
Coming back to QuickBooks Point of Sale, the Intuit has ended the sales of this product, which means that no new users can purchase it. Besides, those who continued with the product won’t get any security updates or improved features in the product. Besides, customer support is also discontinued along with the product.
How Did QuickBooks Desktop POS Discontinuation Impact Users?
Intuit discontinued QuickBooks POS, which means it will not sell the product to new users after the discontinuation. Nor will it release new product updates or maintenance patches or improve existing features of the products for the users. The common implications of this change are:
No Security Updates
QuickBooks releases a new update on a regular interval which eliminates the known issues in the program and add improvements to the existing features. Updating the program periodically means you are using the most error-free version of the program and features to their maximum efficiency. However, when the new updates (security patches) are not released, program becomes prone to multi-faceted threats.
No Feature Enhancements
As discussed, new updates come with enhancements to the existing features. Thus, they boost the efficiency of the program and let users harvest the program to its utmost potential. However, when no improvements are added, it becomes difficult for the users to address their emerging needs properly.
No Customer Service Support
Customer support is one of the most crucial aspects of user-experience. It enables them to speak to an expert on having product related query or experiencing a technical issue in the program. Trained technicians or experts on the other hand, ensure quick relief and answer all the queries to the utmost level of user’s satisfaction. However, discontinued customer support makes the users become self-reliant for the error resolution.
Services Stopped With QuickBooks Desktop POS Discontinuation
QuickBooks Desktop Point of Sale discontinuation not only caused some major inconveniences to the users but also put different services to an end. Check the list for the same:
Intuit Store Exchange
After the end of the QuickBooks Desktop Point Of Sale, the users won’t be able to use the Intuit Store Exchange feature. Besides this, you can use other Store Exchange methods to exchange data between the stores.
QuickBooks Gift Card Service
QuickBooks Desktop Point Of Sales users now won’t be able to access the Gift Card Service after the end of this application. However, if you access any Gift card after the discontinuation policy, it will be redeemed manually. Thus, you can use the Reports Feature to know more details about the balance on the gift cards.
E-commerce Integration with Webgility
Moreover, the users won’t be able to send the income and transaction-related data from each order to automate the accounting and inventory via Webgility. Also, as a user, you can’t access the e-commerce integration feature with Webgility after the QuickBooks Desktop POS discontinuation.
Live Support Facility
The users won’t get any live support facility for the QuickBooks Desktop Point Of Sale after October 3, 2023. All the support channels of QuickBooks customer service, such as call, email, or live chat, will no longer be accessible to you.
No Security Patches Available
Moreover, the Desktop Point of Users will stop releasing the latest updates and upgrades regarding the application. Thus, it will expose the program to various cyber-security threats for retail companies and put data at risk of hacking or misuse.
Mobile Sync
The users won’t be able to sync the QuickBooks Desktop Point of Sale with the mobile application. It will certainly alleviate the flexibility of the users to run the tool on their preferred devices, and therefore, they will have to stick to the limited devices.
Important Considerations For Current QuickBooks Desktop POS Users
Despite various shortcomings, many users feel that the discontinued QuickBooks Desktop POS is sufficient to meet their needs. Therefore, they have continued using the tool to accept payments and track their sales. However, when it comes to error resolution, they need to deal with the issues on their own. It can be annoying sometimes.
Sooner or later, the discontinued version will break down. Also, due to the lack of improvements in the program, it will become difficult to meet the emerging needs of the users. Moreover, the evolving security threats due to non-availability of the updates can disrupt the program with time.
When it happens, repairing or restoring the damaged data can be a costly affair. Besides, migrating the existing data to a new program can also have its own set of challenges. In such a case, users need to consider switching to a more advanced POS solution.
Shopify POS For QuickBooks Users
Shopify and Intuit have developed a smooth data migration process. It allows users to migrate their data to Shopify and adopt it as their new Point of Sale solution. It has all the features of QuickBooks Desktop POS. In addition, it has some additional features that were highly asked by the QuickBooks Desktop merchants. You can seamlessly integrate Shopify with QuickBooks software and sync your accounting information automatically. This is the reason why Intuit prefers Shopify as a POS solution for QuickBooks.
Another Information: QuickBooks Desktop Discontinued 2021
Ending Words
By giving a full read to this post, you can learn everything about the QuickBooks Desktop Point of Sale Discontinuation Policy. Besides, this post also covers how this discontinuation affected users and what users should do about it. For further assistance on this topic or migrating QuickBooks POS data, you may speak to someone from the QuickBooks Help Desk.