When switching from one computer to another or transitioning from QuickBooks Desktop to QuickBooks Online, the QuickBooks Migration Tool can make the process much easier. However, if your software isn’t up-to-date or if there are common system performance issues, you may encounter QuickBooks Migration Error 1009. This error typically appears alongside warning messages such as:
| “Something’s not right. Try again later.” |
| “1009 internal error: unknown exception.” |
| “Error 1009: There was an issue with the connection to QuickBooks Online.” |
In this detailed guide, we’ll explore the possible causes of this error and provide you with the necessary steps to ensure a smooth and successful data migration.
Why is QuickBooks Migration Tool Not Working?
Check out the list below to learn why the QuickBooks Migration Tool is not working and generating error code 1009:
- Outdated QuickBooks Desktop
- Windows OS might not be compatible
- QuickBooks processes in the background might be hampering the migration
- Incorrect documentation for the migration tool
- Intuit might not be added as a secure website
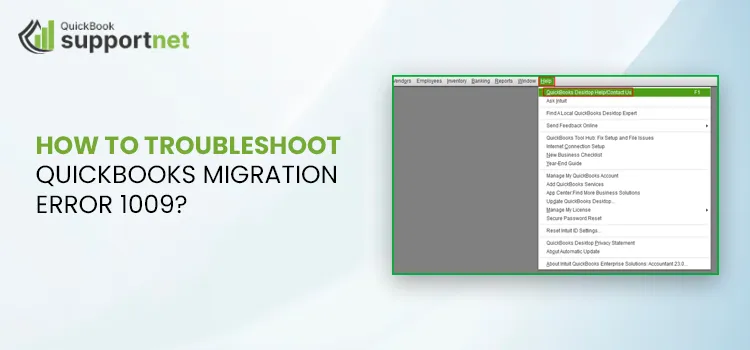
How to Fix QuickBooks Migration Error 1009 When Moving Data?
Moving data from one location to another or to a different system allows switching between computers or different versions of software. Explore the troubleshooting steps for QuickBooks migration error 1009 below and move your data seamlessly.
1. Update QuickBooks Desktop
A software update brings bug fixes, security patches to prevent breaches, new features, performance improvements, and better compatibility with new hardware and software. Updating QuickBooks Desktop ensures such issues do not hamper the data migration from one location to another.
2. Update Windows OS
Get Windows OS updates so that it is compatible with other software and does not cause any interruptions when running different software operations.
- Open the Windows Start menu.
- Go to Settings.
- Select Windows Update in the left pane.
- Hit Check for updates.
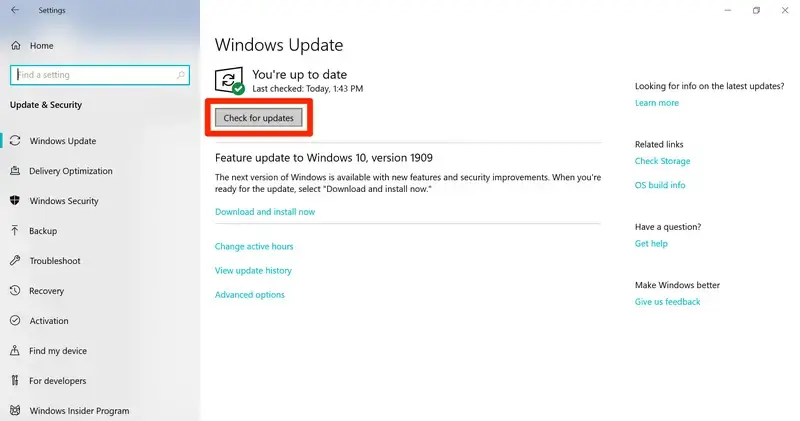
- If the updates are available, click on Download & Install. Your computer will automatically download and install the updates.
- When prompted, restart your computer to apply the updates.
Read More – Convert Data File from QuickBooks Online to Desktop
3. Activate QuickBooks Desktop again
Activating QuickBooks offers various benefits, including having the admin rights to perform specific tasks, and such common problems do not hamper the data migration.
- Open QuickBooks Desktop.
- Go to Help.
- Select Activate QuickBooks Desktop.
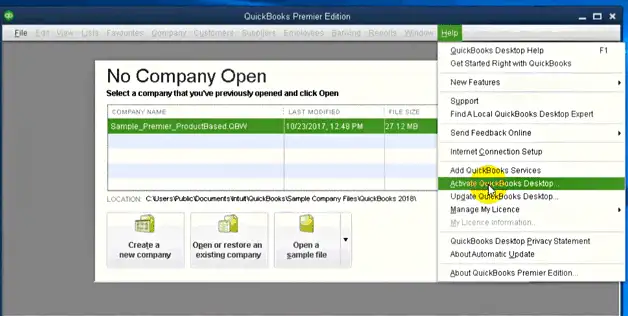
- Follow the on-screen steps to verify the information.
4. Re-run the Move.QuickBooks.bat file
Reboot your computer for a fresh start by clearing the processes in the Task Manager, clearing all system memory, and reloading the operating system, potentially hampering data migration.
When done, run the Move.QuickBooks.bat file again to transfer your data.
Note: These steps do not apply to QuickBooks Online data.
- Insert the USB flash drive.
- The migration won’t open automatically due to Windows security restrictions.
- Open the flash drive to see the stored files and double-click on the Move_QuickBooks.bat file to start the migrator.
- Type the password you created and click Let’s go.
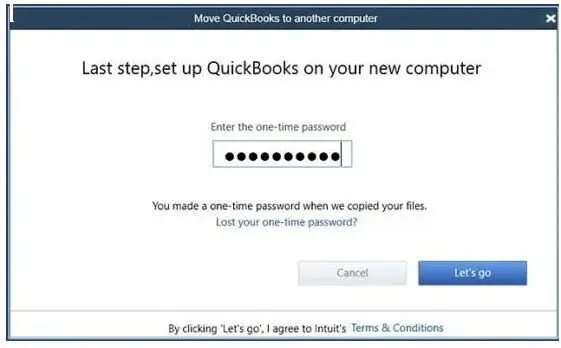
- Wait until the Migrator Tool finishes.
1 Note – The speed of your computer, internet, and the size of your company file(s) will affect this process.
2 Note – If the migrator doesn’t launch after selecting and running the file, updating your Windows 10 version may be required.
Learn More – Data Migration from QuickBooks Desktop to Online
5. End all the QB processes from the Task Manager
QuickBooks processes that run in the background may linger during the data transfer process, causing QuickBooks migration error 1009.
- Right-click on the Windows Taskbar and select Task Manager.
- Move to the Processes tab.
- Click on Image Name.
- Choose the QuickBooks processes one by one and click End process.
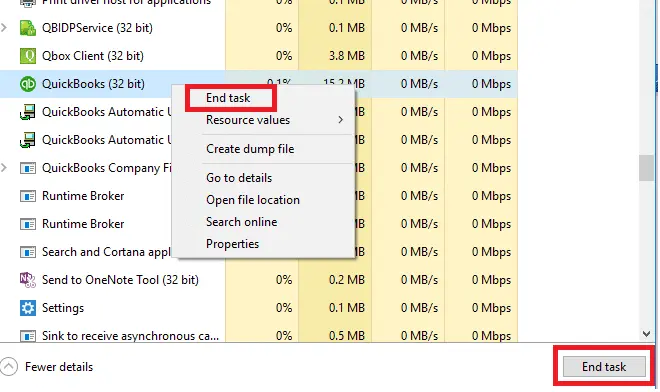
- Make sure only QuickBooks processes are ended.
- Exit the Task Manager.
- Exit SmartVault from the system tray.
6. Manually move QuickBooks to another computer
Try moving your QuickBooks to another computer manually with the steps below. The steps below are not applicable to QuickBooks Online.
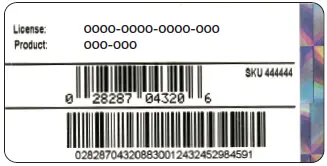
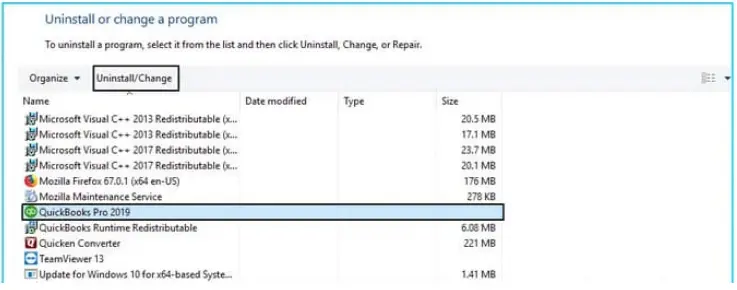
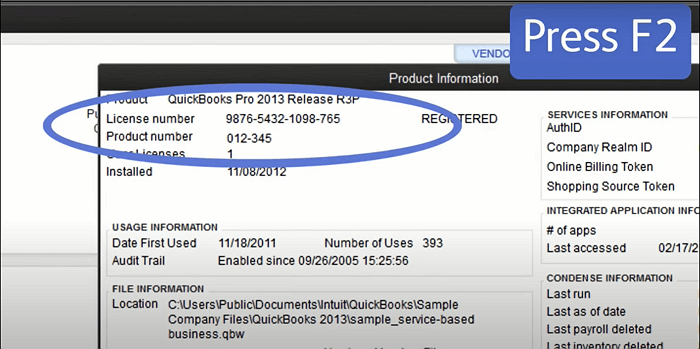
- Note down the product and license information.
- Remove/uninstall the existing version of QuickBooks Desktop.
- Move to the computer where you want Quickbooks Desktop to be installed.
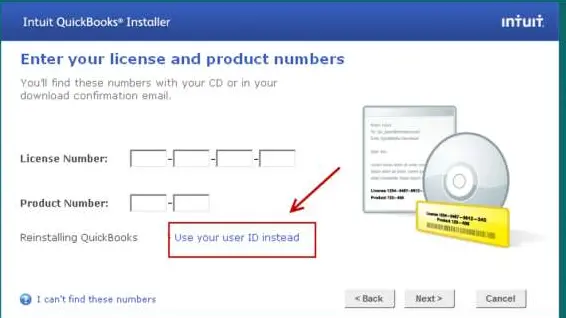
- Now, download the program file or insert the CD.
- Install QuickBooks Desktop as you normally would.
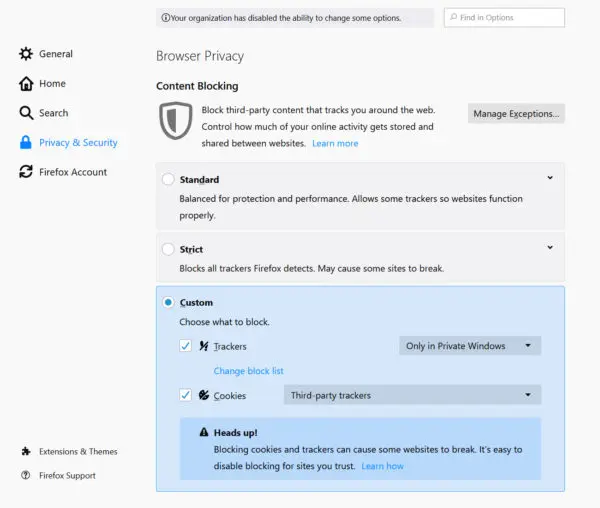
7. Add Intuit as a trusted site
Adding Intuit as a trusted site tells your web browser that you consider this site trustworthy and safe. This also improves the site’s functionality and user experience.
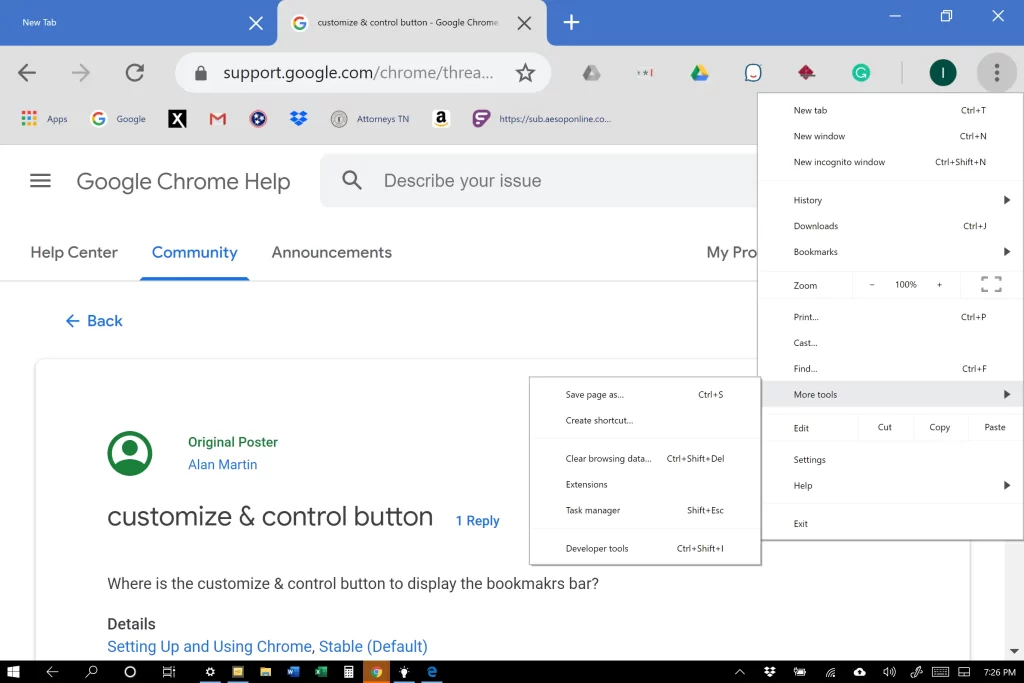
a. Add Intuit: Google Chrome
- Open Google Chrome.
- Click on the Customize and control Google Chrome ⋮ icon.
- Select Settings.
- In the left pane, choose Privacy and security.
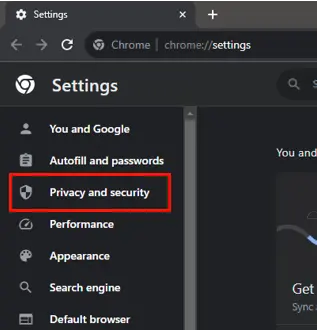
- Hit on Third-party cookies.
- Select Add next to Allowed to use third-party cookies.
- Type intuit.com, then click Add to save.
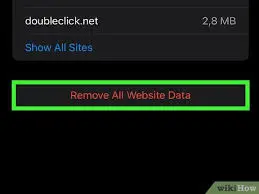
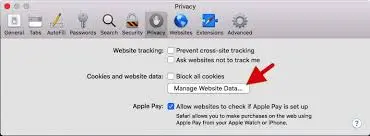
b. Add Intuit: Safari
- Open Safari.
- Type intuit.com.
- Press Enter.
- Select Bookmarks, click on Add Bookmark…

- Under Add this page to: drop-down, select Favorites.
- Click Add.
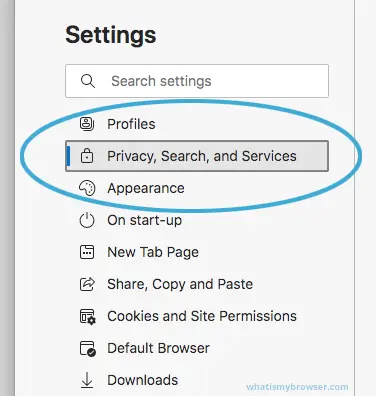
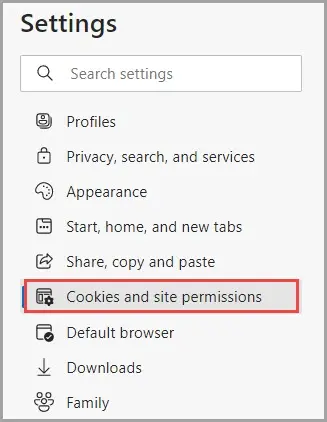
c. Add Intuit: Microsoft Edge
- Click on the Settings and more … icon.
- Select Settings.
- In the left pane, choose Cookies and site permissions, and then Manage and delete cookies and site data.
- Select Add in the Allow section.
- Type intuit.com, then click Add to save.
Conclusion
The QuickBooks Migration Tool makes it easy to move your data between different locations or versions of QuickBooks. If you encounter issues like the QuickBooks Migration Error 1009, the information above should help identify the root cause and guide you through resolving the error.
For further assistance, don’t hesitate to contact our support team at +1(866)500-0076 professionals are available 24/7 to help resolve any issues you may face.