If your QuickBooks bank feeds not working, you might be frustrated with the time-consuming manual data entry and the potential for errors.
When bank feeds fail to import transactions automatically due to errors like OL and OLSU in QuickBooks Desktop, it can complicate your ability to track finances, reconcile accounts, and generate accurate financial reports.
This guide will help you understand the reasons behind bank feed issues and offer solutions to ensure automatic transaction uploads work smoothly again.
Why is QuickBooks Bank Feeds Not Working?
Find out the reasons why QuickBooks bank feeds not working below:
- Bank server error
- Incorrect QuickBooks file extension
- Broken bank connection with QuickBooks
- Possible issues with the older data in the company file
- Multiple linked company files hampered the bank connection
- Inactive accounts
Let’s Troubleshoot QuickBooks Feeds Errors in QuickBooks Desktop
Below are the suitable fixes that will help you resolve the QuickBooks bank feed errors and ensure the transactions can be downloaded properly:
1. Download bank feed transactions in a test company file
To determine if the problem lies with the bank’s servers, try downloading transactions in a test company file using the steps below.
- Open QuickBooks Desktop.
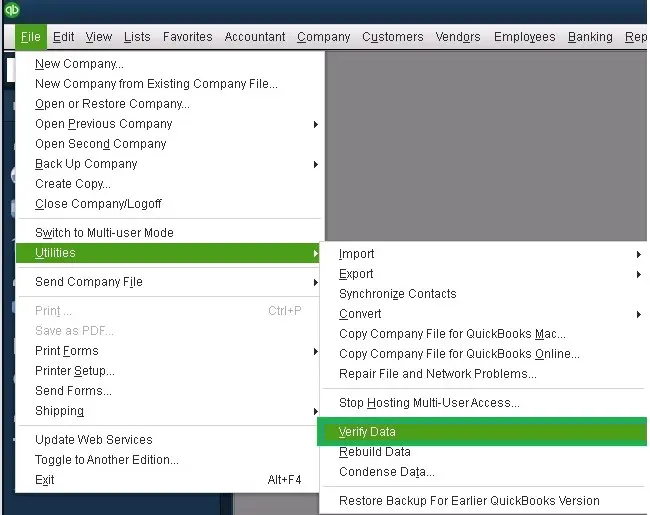
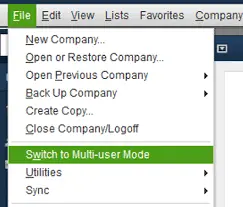
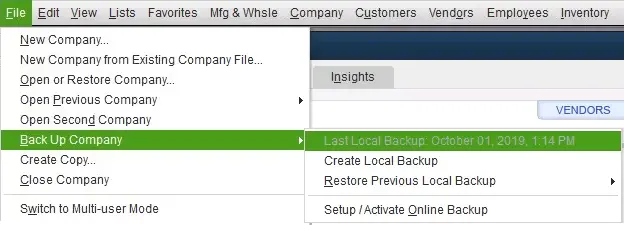
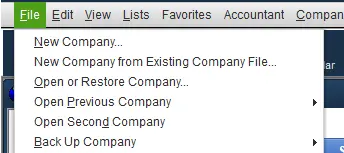
- Go to File at the top menu bar.
- Select New Company.
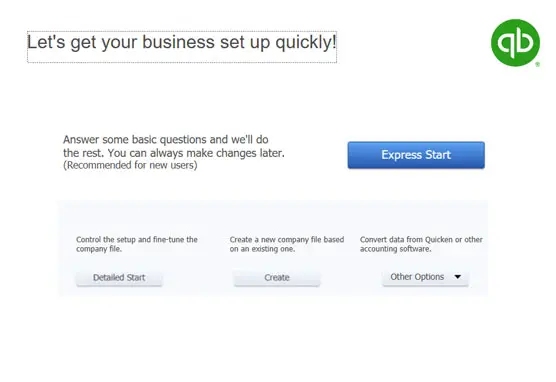
- Hit Express Start or Start Setup.
- Configure Bank Feeds for the same account you are experiencing issues with.
- Now, try to download your transactions.
- If you encounter an error, the issue may be with the bank. Contact someone from your bank or QuickBooks. When consulting, you can share a copy of your Bank Feeds logs.
Move to the next step if you don’t see the error.
Read More – QuickBooks Bank Error 102 and 105
2. Check if the file from your bank works with QuickBooks
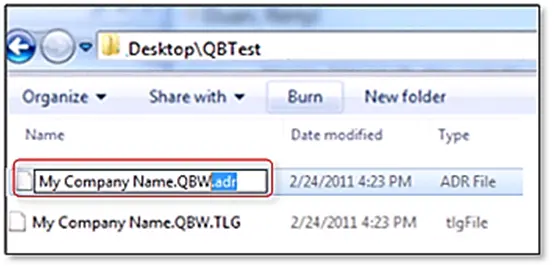
QuickBooks only supports .qbo file extensions for downloaded transactions. If your bank uses a different format, QuickBooks won’t open the file.
To determine if the issue is with your bank or the file type, download transactions directly from your bank’s website.
- Log in to your bank’s website outside of QuickBooks.
- Locate and download your transactions as a .qbo file.
- Import the transactions into QuickBooks.
- If the .qbo file still doesn’t open, the issue may be with your bank. Contact their support for assistance.
If you can successfully import and view the transactions, proceed to the next step.
Learn More – How to Add Bank Account to QuickBooks?
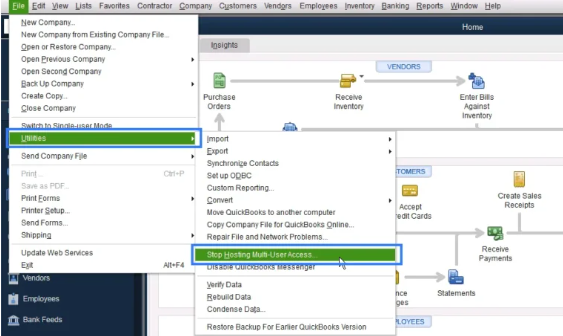
3. Refresh the connection with your bank
Let’s refresh the bank connection with QuickBooks:
- Go to Company.
- Hit on Chart of Accounts.
- Mark the box for Include Inactive.
- Find an inactive account with a lightning bolt (this means the account is already set up for online banking).
If you see an account, follow the steps below to turn off online banking. Otherwise, set up QuickBooks bank feed and then attempt to download your transactions.
- Right-click on the inactive bank feeds account.
- Click on Edit Account.
- Select Bank Feed Settings.
- Click on ‘Deactivate All Online Services,’ then click ‘OK.’
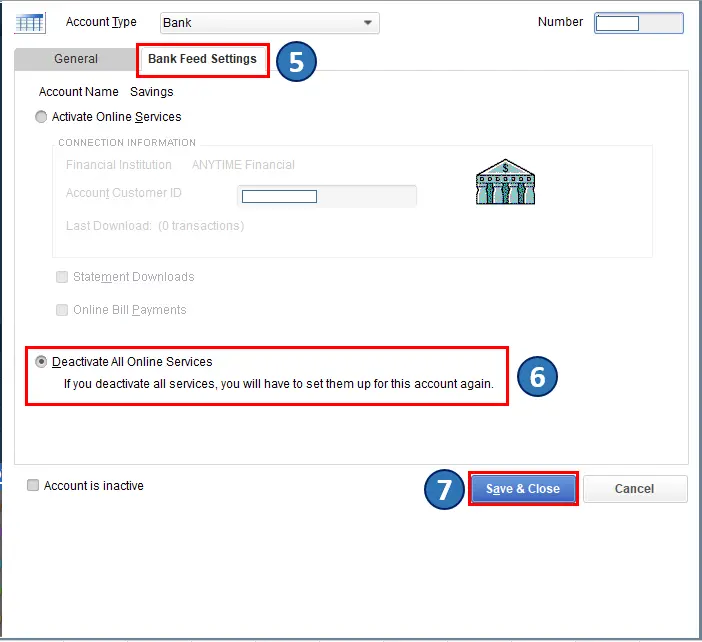
- Choose Save & Close.
- Close your company file and open it again.
- Make sure there’s no lightning bolt.
4. Create and merge accounts
See whether the issue is with the company file. Create a copy of your account, then merge it with the old one. Here’s how to do so:
- Navigate to Chart of Accounts.
- Right-click on the affected account and click on Edit Account.
- Choose the account name and copy it.
- At the end of the account name, enter an asterisk (*).
- Select Bank Feeds Settings.
- Click on Deactivate All Online Services > OK.
- Hit Save & Close.
- In the Chart of Accounts, create a new account.
Note: When setting up the account name, paste the text you just copied.
- Close your company file and open it again.
Let’s merge the accounts
- Navigate to the Chart of Accounts.
- Right-click the account with the asterisk.
- Click on Edit Account.
- Remove the asterisk.
- Select Save & Close.
- Hit Yes to merge the accounts.
- Now, set up the bank feeds again.
- See if you can download the transactions.
If you’re unable to edit or merge the accounts, your company file might be corrupted. Contact us for assistance.
If QuickBooks bank feeds not working, proceed to the next step.
5. Turn off and activate online banking again
If you have multiple accounts linked to online banking, check if one specific account is causing the issue. A connection problem with one account can affect others.
- Go to the Chart of Accounts and check the Include Inactive box.
- Disable and then re-enable online banking for each account.
- If you’re unable to turn off Bank Feeds for any account, contact us for assistance.
If the problem persists:
- Contact your bank’s support team with your Bank Feeds log.
- Request that they escalate the issue through our OFX Connectivity page for a resolution. Make sure to note your case/ticket number.
Bonus Tips
- Update QuickBooks Regularly
- Clear Cache and Cookies in Web Browser
- Check for Scheduled Maintenance
- Ensure Correct Bank Account Mapping
- Use an Alternative Bank Feed Connection
- Review Bank Feeds Logs
Conclusion
In conclusion, we’ve covered several reasons why QuickBooks bank feeds not working and provided comprehensive solutions to resolve these issues effectively. With this detailed guide, you should now be able to seamlessly download your bank transactions and keep your financial data in sync.
If you need further assistance or expert help, don’t hesitate to reach out to us at +1(866)500-0076. Our QuickBooks ProAdvisors are available 24/7 for consultancy and support.
Frequently Asked Questions
Why should you use bank feeds in QuickBooks?
Here’s why to use bank feeds in QuickBooks
- Save significant time
- Reduce data entry errors
- Get real-time financial insights
- Automatically downloading and categorizing bank and credit card transactions
How to refresh bank feed in QuickBooks?
Learn how to refresh the bank feed in QuickBooks:
- Select the Banking menu.
- Click on Bank Feeds.
- Choose the Bank Feeds Center.
- Select your account and click the Refresh icon a couple of times.
How to activate bank feed in QuickBooks?
To activate a bank feed in QuickBooks Online, navigate to the Banking tab > Add account > search for your financial institution > enter your bank login credentials, and follow the on-screen prompts to establish the connection and import your transactions.
Why is my bank feed not working in QuickBooks Desktop?
Bank feeds may not work in QuickBooks Desktop, such as with outdated software, because there’s a problem with your bank’s service, your Internet connection, or the credentials you’re using to connect.