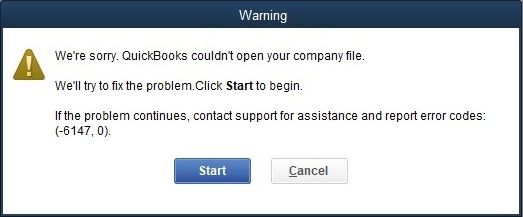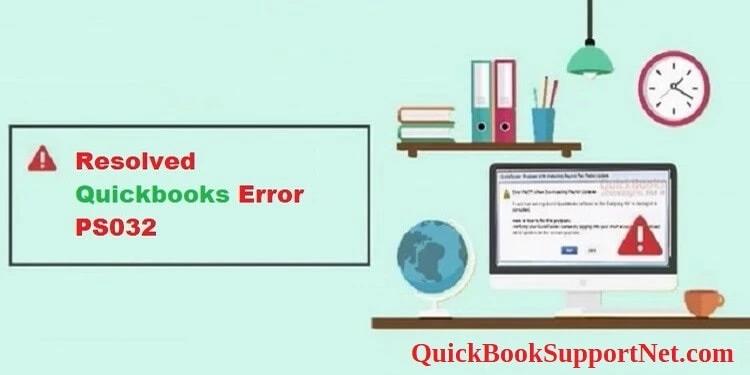
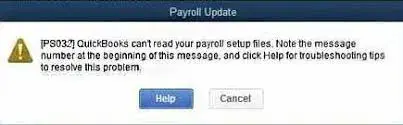
Today, many businesses rely on payroll software to manage payroll tasks efficiently rather than handling them manually. QuickBooks Payroll is a popular choice, ensuring seamless payroll processing in line with the latest tax tables. However, users often encounter QuickBooks Error PS032 when attempting to download the latest payroll update. This issue typically arises due to an inactive payroll service subscription. When the error occurs, users receive the following message:
In this informative guide, we have explained all the rot causes that trigger QuickBooks Error Code PS032. Moreover, we have also discussed the simple ways to rectify this error.
| Facing issues while resolving QuickBooks Error PS032 and require instant help? Contact us at +1(866) 500-0076 and talk to our highly-trained professionals and resolve the issue asap. |
Why You Keep Getting QuickBooks Payroll Error PS032?
To resolve the QuickBooks Payroll Error PS032 smoothly, it is necessary to get a clear vision regarding the factors responsible for the error. Numerous reasons trigger this error, a few of which are specified below.
- The information entered within the billing address needs to be completed or corrected.
- Sometimes, it may happen when you haven’t registered your QuickBooks software.
- The users might experience this error due to the presence of damage or corruption in the QuickBooks data file.
- Interference with the Windows Firewall Defender while installing the latest QuickBooks payroll updates.
- An unstable internet connection may also be one of the reason that triggers QuickBooks Error PS032.
When You Face Error PS032 in QuickBooks Desktop?
Whenever the user discovers Error PS032 in QuickBooks Desktop, they will spot the following symptoms.
- Your QuickBooks software may stop functioning normally and begin to freeze or shut down.
- It might stop the users from preparing the payroll timely, leading to business productivity loss.
- You may receive the error message explained above on your computer screen.
- The users won’t be able to install the latest QuickBooks tax table update.
- Sometimes, your Windows operating system starts performing sluggishly.
Steps to Overcome QuickBooks PS032 Error Easily
Before moving straightforwardly to the troubleshooting of PS032 Error QuickBooks, you must remember the following things.
- Install the latest QuickBooks and Payroll Tax Table updates on your device.
- Ensure that you have set up QuickBooks Payroll properly.
- Always use a reliable and active QuickBooks payroll subscription.
- You have updated the payroll details appropriately.
- A strong internet connection is required to install the payroll updates smoothly.
Effective Strategies to Simplify QuickBooks Error Code PS032
Here, we have explained all the best feasible ways to overcome QuickBooks Error Code PS032. To avoid any further discrepancies, ensure that you apply the steps in the same order as stated below.
1: Examine the Actual Status of Payroll Service Subscription
Many times, not using an appropriate payroll subscription might give rise to QuickBooks Error PS032. Therefore, implement the steps outlined below to cross-check the payroll subscription status.
- First of all, shut down if any application is running in the background.
- After this, launch QuickBooks again and click Employees > My Payroll Service > Manage Service Key option.

- Now, you are supposed to cross-check the Service Name and Status.
- Thereon, you must check that the status is Active.
- In the next step, hit the Edit option to verify the Service key number.
- You must add the appropriate Service Key number and then proceed further.
- Afterwards, click Next and then deselect the Open Payroll Setup option.
- Conclude the process by hitting the Finish button.
2: Cross-Check the Billing Information Added
You must apply the instructions explained below to review the billing details added in QuickBooks.
- To start the process, launch the Product Information window using then shortcut keys i.e, the F2 key.
- Now, copy the QuickBooks License Number presented on the screen at a safe place. While noting the License number, check it twice to prevent any further discrepancies.
- Thereon, hit the OK button and exit from the Product Information window.

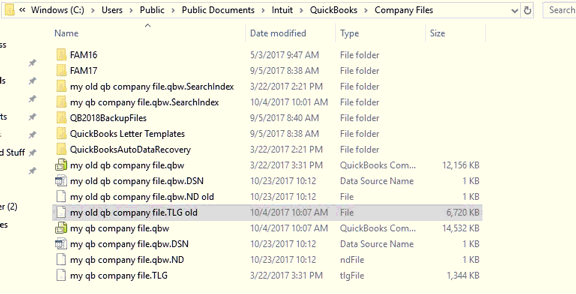
3: Allot a New Name to the CPS Folder
- First of all, you have to open the File Explorer on your device. For this, you can use the Windows + E keys from the keyboard.
- Soon after this, navigate to the “This PC” option and proceed further.
- Afterwards, head towards the local C: drive.
- In the next step, look for the program files folder where you have placed the file you are currently accessing.
- Next, access the components and then use the payroll folder.
- Choose the renamed folder by right-clicking on the CPS folder.
- You have to alter the name of CPS folder by including .OLD at the end of the file name.
- In the end, use the payroll tax table update after downloading it.
4: Try to Disable the User Account Control
At times, disabling the User Account Control settings might help the users in fixing QuickBooks Error PS032.
- In the earlier stage, launch the Run window on your screen.
- After this, insert “Control Panel” into the required search field and hit OK to move further.
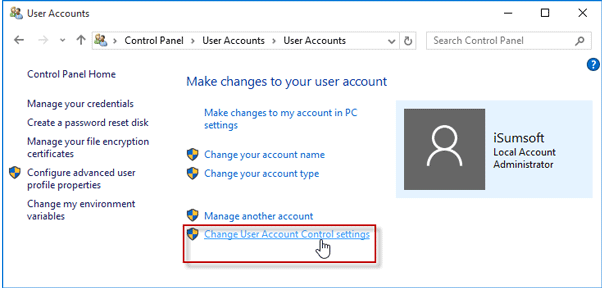
- As a result, it will redirect you to the new screen. Herein, you must enter User Accounts into the Search column of the Control Panel.
- In the next step, head towards the Change User Account Control Settings and hit the Yes button.
- Thereon, drag your slider to the “Never Notify” option to switch off the User Account Control Settings.
- Conclude the process by relaunching the computer and downloading the payroll updates again.
5: Use the Verify and Rebuild Data Tool To Repair Damage Company File
You must utilize the Verify and Rebuild Data tool to fix the issues within the company file. To run this tool, carry on with the stepwise instructions listed below closely.
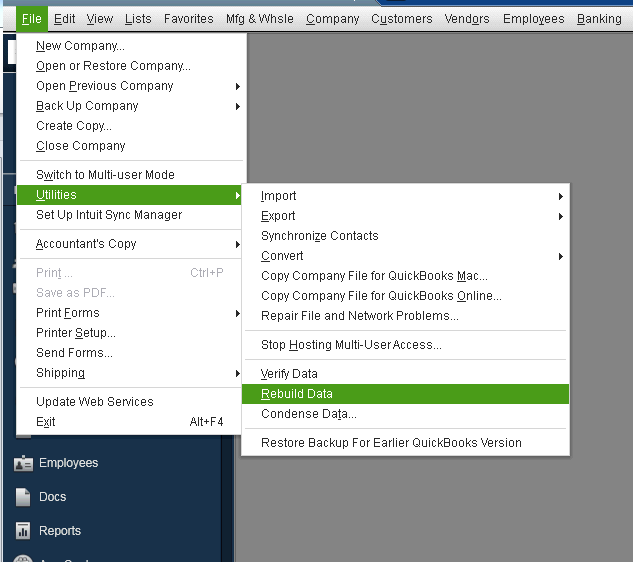
- In the initial stage, hit the File menu and then choose the Utilities option.
You must hover your cursor over the Verify Data and wait until you accomplish the process. - If you receive the message denoting, ‘Your data has lost integrity you need to rebuild your data’. In such circumstances, go back to the File menu and hit the option that says Utilities.
- Now, tap on the Rebuild Data option and hit the OK button when asked to launch the data file on your screen.
- Once again, click the Next button when you receive the message stating: “Rebuild has completed”.
- Finally, conclude the process by running the Verify Data Utility by using the above two steps.
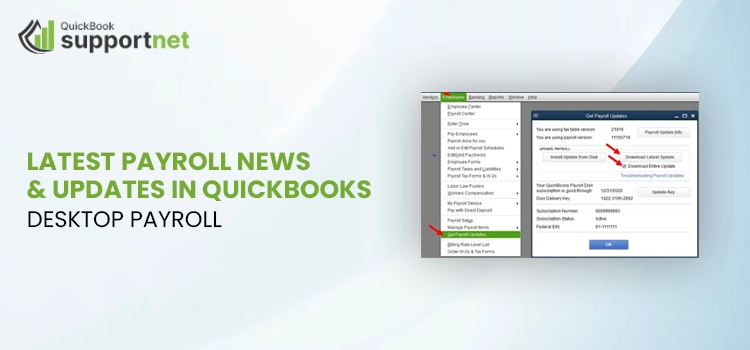
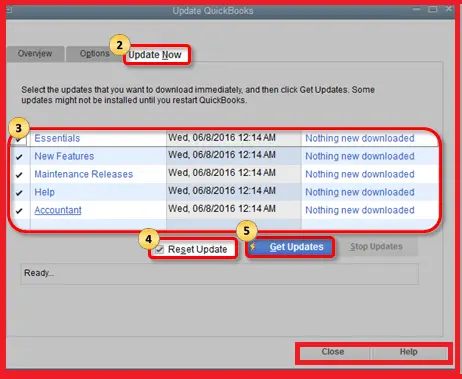
6: Update QuickBooks Update Once again
Even after performing all the resolution methods stated above you can’t resolve QuickBooks Error PS032, try to update the QuickBooks. To do so, you must apply the steps outlined below attentively.
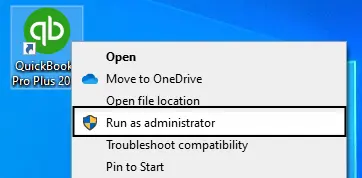
- In the first step, launch the QuickBooks Desktop application as the Windows Admin user.
- Afterwards, choose the Help menu and then hover your cursor over the Update QuickBooks Desktop.
- Moving further, you must hit the highlighted Update Now option followed by the Get QuickBooks Update option.
- Now, you have to wait until the update gets successfully downloaded on your device.
- Thereon, try to re-open QuickBooks Desktop and give permission to install the latest available payroll updates.
Final Thoughts!!
We hope that now you won’t find the task of resolving QuickBooks Error PS032 challenging. However, if you still have any doubts in your mind and need expert’s guidance then reach our experts via the live chat facility. Our highly-trained professionals will listen to your query patiently and guide you accordingly.
Recommended Post:-