Users face a lot of errors while operating on this application. One such problem from the lot is QuickBooks error 12007.
Numerous QuickBooks users have complained about encountering the QuickBooks error 12007 while updating their QuickBooks Desktop or payroll application. Are you also among such users? If yes, here’s this post to help you. In this blog, we will discuss deep insights into the error and how to get rid of it.
Do not overlook any errors while operating QuickBooks! Just connect with our support team at +1-866-500-0076 and immediately fix the technical bugs for seamless QuickBooks operations.
What Does the QuickBooks Error 12007 Mean?
Whenever a user tries to update their QuickBooks Desktop application or its payroll service due to incorrect SSL settings, they may get QuickBooks error 12007. That’s why it’s also known as a QuickBooks payroll error 12007. Usually, this issue arises with a text message on the user’s payroll screen stating,
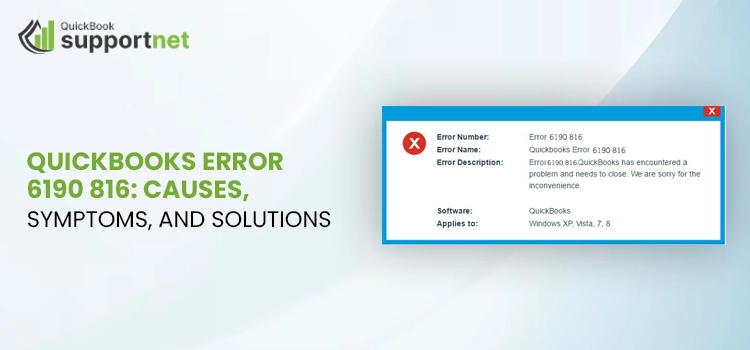
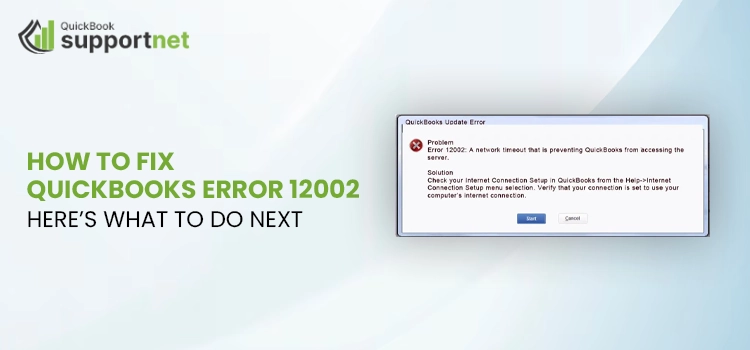
“Problem. Error 12007: A network timeout that is preventing QuickBooks from accessing the server.
Solution
Check your Internet Connection Setup in QuickBooks from the Help->Internet Connection Setup menu selection. Verify that your connection is set to use your computer’s internet connection.”
The attack of this error code 12007 can be recognized from certain signs and symptoms, about which we will discuss in the following section. Continue reading..!
How Users Can Recognize Error Code 12007 QuickBooks?
The following signs can help users sense the error code 12007 QuickBooks Desktop. Have a look to learn about the error:
- Frequent failure of QuickBooks Desktop and its payroll service updates.
- There is a continuous popping of Error 12007 messages on the update screen.
- Unexpected system shutdowns and crashes while updating QuickBooks Desktop or payroll service.
- Frequent system lags while running payroll service in QuickBooks Desktop.
- No response from keyboard tabs and mouse clicks while downloading the updates of QuickBooks Desktop or payroll.
- Crashing of other activated Windows programs while running QuickBooks payroll updates is also a sign of QuickBooks error code 12007.
Why Do Users Face QuickBooks Error Message 12007?
The following technical wrong-dones or factors can be mainly responsible for the QuickBooks error message 12007:
- Sometimes, Internet and Firewall Defender settings block QuickBooks and its related services like payroll, which results in errors like QuickBooks 12007.
- Make sure you have set Internet Explorer as a default browser while downloading the QuickBooks and payroll service updates.
- Also, even third-party application programs can disturb the QuickBooks services and their functionalities.
- If you haven’t completed the last QuickBooks update, you may encounter QuickBooks error message 12007.
- Unstable or poor network connection settings are one of the most obvious reasons for error 12007 in QuickBooks.
- As discussed above, incorrect SSL settings are another major cause of the error message 12007.
How do I Fix 12007 Error in QuickBooks Desktop? 5 Solutions
If you’re searching for how do I fix 12007 error in QuickBooks Desktop, take a look at the section below. Carefully read and implement the top 5 expert troubleshooting solutions given here and get rid of this issue:
Method 1 – Configure the Incorrect Internet Explorer Settings
One of the most evident causes of facing error code 12007 in QuickBooks is the incorrect Internet Explorer settings. Thus, follow the given instructions below to configure the internet settings properly:
- Firstly, you must check your Internet Explorer settings; for this, you must close your QuickBooks and its related windows.
- Now, open your Internet Explorer browser and go to the Tools option. Under this, hit the Internet settings tab.
- In this step, you must open the security tab and click the Globe icon to set the security level. Make sure to set it at a medium-high level.
- After this, you need to open the connection tab and choose the never-dial-up connection option.
- Done till this? Now, choose the correct ISP and click the OK tab.
- Here, move to the LAN settings tab and make sure to tick-mark the Automatically Detect Settings box.
- Now, you need to verify that you use a proxy server option. After verifying the same, open the Advanced tab.
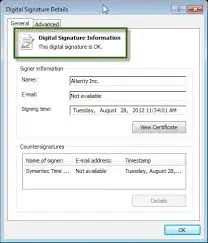
- Here, click the Restore advanced settings option, and from the Settings tab, you must search for the USE TLS 1.2 option.
- Continue clicking this option, and then choose the OK tab to save the above changes.
- Finally, close your Internet Explorer browser and restart your computer system.
Now, after applying the method above, retry to update your QuickBooks Desktop or payroll service. If you still find the QuickBooks Desktop error 12007, implement the following method.
Method 2 – Set Internet Explorer as your Default Browser
Internet Explorer is the suggested browser to set as a default one while operating QuickBooks and its related services. If it’s not your default browser, you may fail to update your QuickBooks Desktop or payroll. So, undertake the steps below to ensure Internet Explorer is your default browser.
- Firstly, you must open your Internet Explorer browser and move to the top-right corner of the screen.
- Here, you will see the Tools icon. Click this icon and navigate to the Internet options tab from the drop-down menu.
- Now, choose the Programs alternative and directly go to the Default Web Browser section.
- After this, click the Make Default button, hit the OK option, and retry to open your Internet Browser.
- Finally, verify whether the QuickBooks Desktop error 12007 is resolved after setting Internet Explorer as the default browser.
Method 3 – Run your Computer in Safe Mode with Networking
If you still notice the error 12007 while updating QuickBooks, try running your computer in Safe Mode with networking. It’s because the system’s Safe Mode allows users to run the updates hassle-free. For this, proceed with the instructions below:
- To begin with this step, you must first press the Windows key + I keys on your keyboard.
- By this, you will open the Settings window. Herein, go to the System tab and click the Recovery option.
- Now, move to the Recovery Settings tab next to the Advanced Startup section and click the Restart Now option.
- Once your computer reboots, you will see the Choose an option message on your screen. Here, you must go with the path “troubleshoot > Advanced options > Startup settings > Restart.
- Also, you may have to enter your BitLocker recovery key. Now, a list of multiple options will appear on your screen.
- So, here, you must choose Option 4 from the list or can directly press the F5 key to run your system in Safe Mode along with networking for internet access.
- Done up to this? Now, you can start updating your QuickBooks Desktop. If you have successfully updated QuickBooks and payroll service, get back to normal mode on your computer. For this:
- Press the Windows + R keys on your keyboard to launch the Run Window.
- Here, enter msconfig, press the Enter key, and click the Boot tab.
- Finally, under the Boot options, remove the checkmark from the Safe Boot box.
However, if you have been unsuccessful in updating QuickBooks and came across error code 12007 QuickBooks, follow the next strategy.
Method 4 – Reset QuickBooks Desktop Update in Single-User Mode
Here, we suggest you switch from QuickBooks single-user mode and reset the QuickBooks Desktop update. Use the steps below to do so:
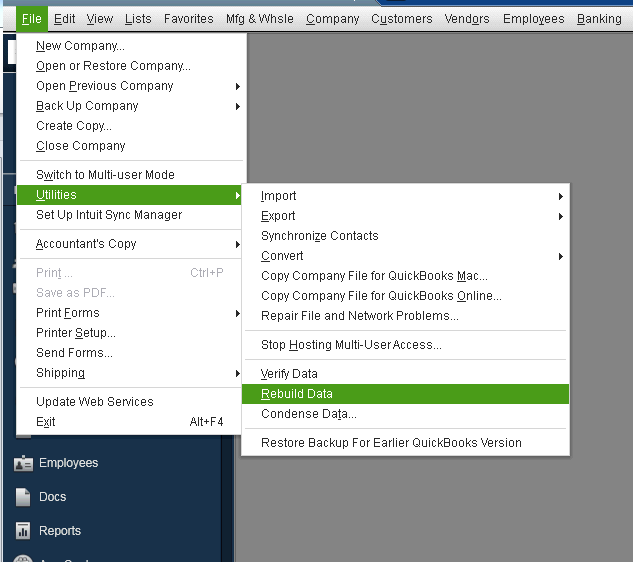
- Firstly, open your QuickBooks Desktop, move to the File menu, and switch to single-user mode.
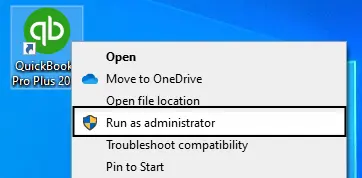
- Now, go to the Start menu and search for QuickBooks Desktop. Once you get the icon, right-click the same and choose the Run as Administrator option.
- After this, click the Help menu on the No Company Open screen, and choose the Update QuickBooks Desktop option.
- Continue navigating to the options tab, click the Mark All button, and hit the Save option.
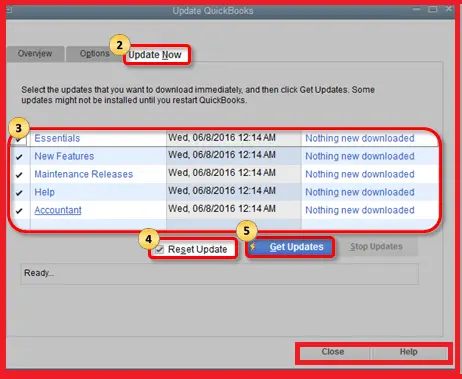
- Following this, move to the Update Now section and tick-mark the Reset Update checkbox.
- After this, hit the Get Updates option, choose the Yes option, and wait till the update process is successfully over.
- Finally, once the update process ends, close all the running windows and restart your computer.
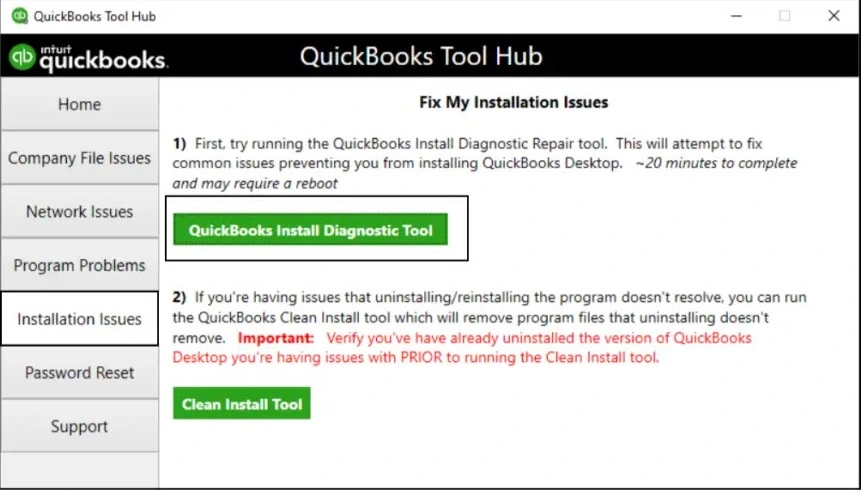
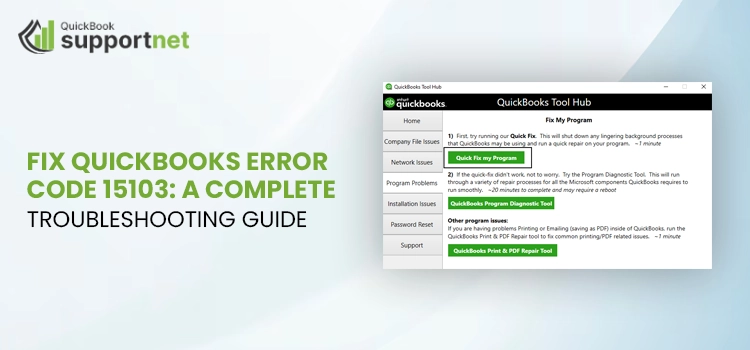
Method 5 – Run QuickBooks Install Diagnostic Tool
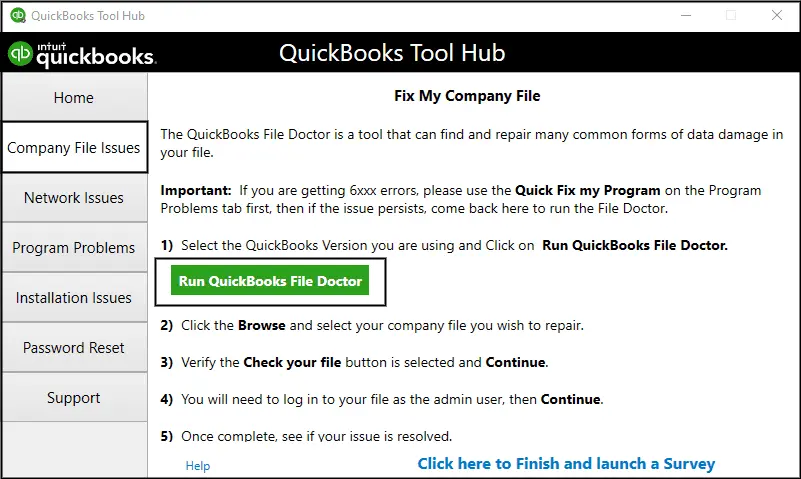
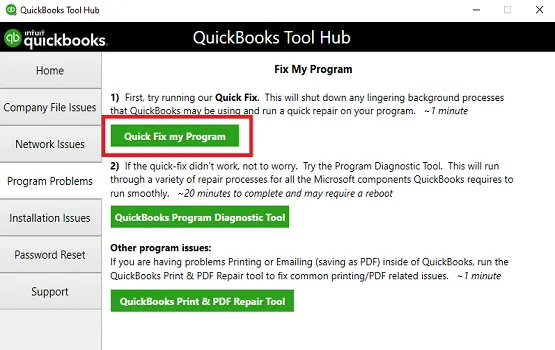
Download the QuickBooks Tool Hub from the official Intuit website and get help from the tools and utilities available in the Tool Hub. To resolve QuickBooks error 12007, run QuickBooks Install Diagnostic Tool.
- Firstly, open your QuickBooks Tool Hub and click the Installation Issues tab.
- Here, choose the QuickBooks Install Diagnostic Tool and start running the same.
- The tool will take around 20 minutes to fix the error. Once the repair process is over, close all the windows.
- Finally, restart your computer and download the latest QuickBooks and payroll service updates.
Reach Out to Us for More..!
So, that’s all! QuickBooks technical issues like QuickBooks error 12007 are troublesome, but with the help of some manual troubleshooting as given above, users can easily eliminate the error. In case you have any confusion, we suggest you contact our certified QuickBooks support team for further help while fixing this issue. Reach out to us via Live Chat Support and fix this issue under our professional supervision for instant and better results.
Frequently Asked Questions (FAQ’s)
Question 1 – What does the QuickBooks error message 12007 say?
Ans: Users receive an error message 12007 stating, “Problem. Error 12007: A network timeout that is preventing QuickBooks from accessing the server.”
Question 2 – How do I fix error 12007 in QuickBooks Desktop using tools?
Ans: Use the following tools:
- QuickBooks Install Diagnostic Tool
- QuickBooks File Doctor Tool
Question 3 – What’s the best way to contact the QuickBooks support team if the solutions above fail to fix the QuickBooks 12007 error?
Ans: Don’t panic! You can easily connect with our QuickBooks support team anytime anywhere or ping us at Live Chat Support to discuss your query.