QuickBooks Error 12007 is a common issue in the 12XXX series that may occur when:
- Updating QuickBooks
- OR updating payroll services
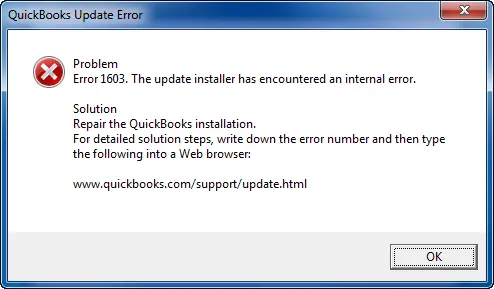
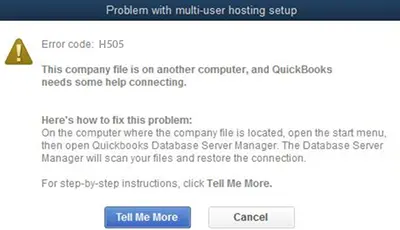
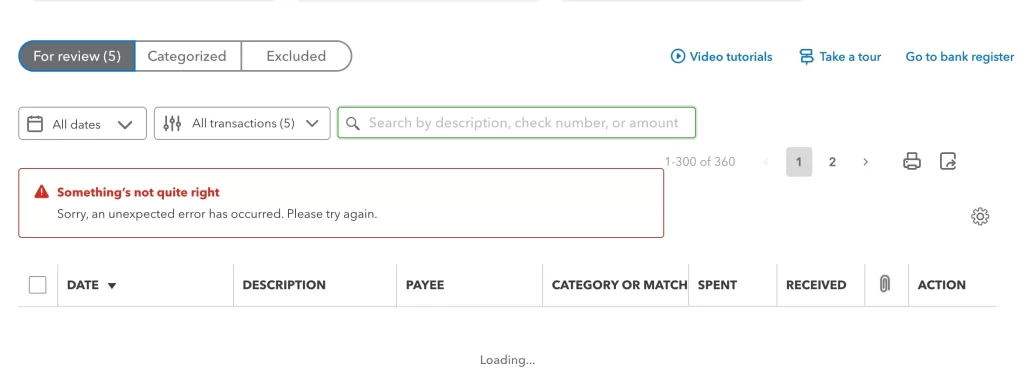
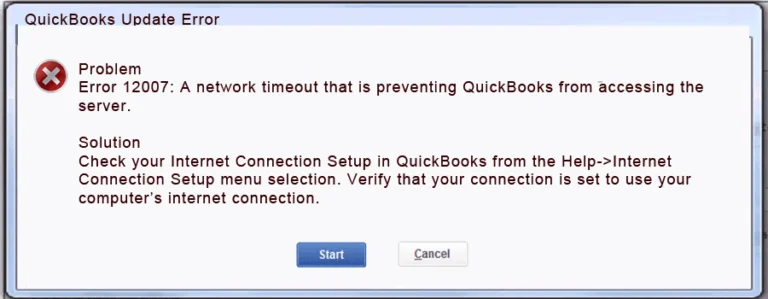
The updates may get stuck, and you’ll see a warning message on your screen:
“Error 12007: A network timeout is preventing QuickBooks from accessing the server.“
This guide will explain the factors that hinder software or payroll updates, causing error 12007, and provide steps to help you resolve these issues for smoother updates.
What Triggers Update Error 12007 in QuickBooks?
Explore the pointers below to see why the QuickBooks update failed with error code 12007 on your screen:
- Possible system security issues
- Network connectivity issues in QuickBooks
- Windows Firewall or antivirus software might be blocking QuickBooks
- Previous updates might be interrupting the recent software updates
- Third-party software on the system might be causing the problem
Fix QuickBooks Error 12007 When Updating QuickBooks or Payroll
Follow the troubleshooting steps below to resolve why you failed to download QuickBooks or Payroll updates and are receiving QuickBooks error 12007.
1. Run the TLS 1.2 Readiness tool
Run the TLS 1.2 Readiness tool automatically on your operating system (Windows 10 or newer) to ensure it is TLS 1.2 compliant.
Note: Download and install the latest release of QuickBooks Tool Hub (1.6.0.8) to run the TLS 1.2 tool.
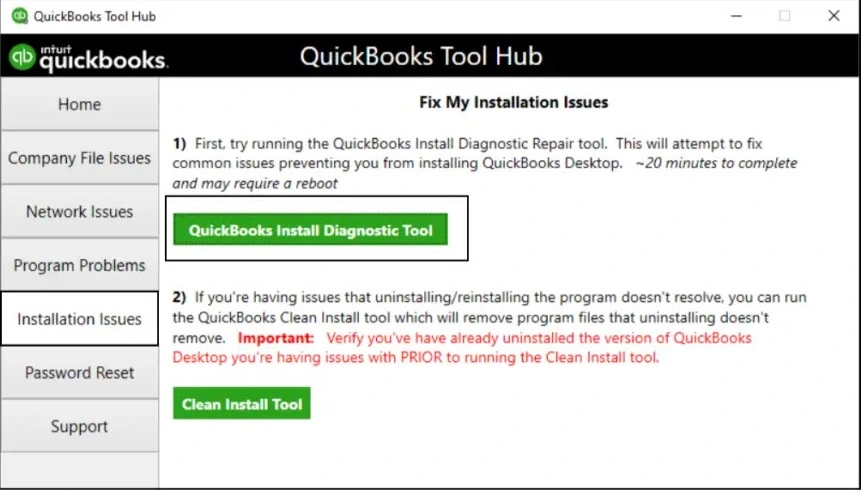
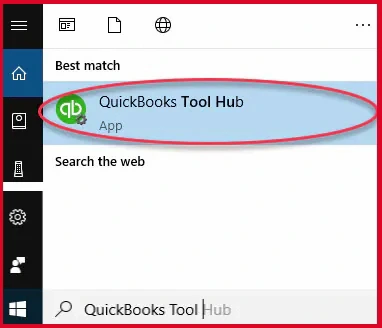
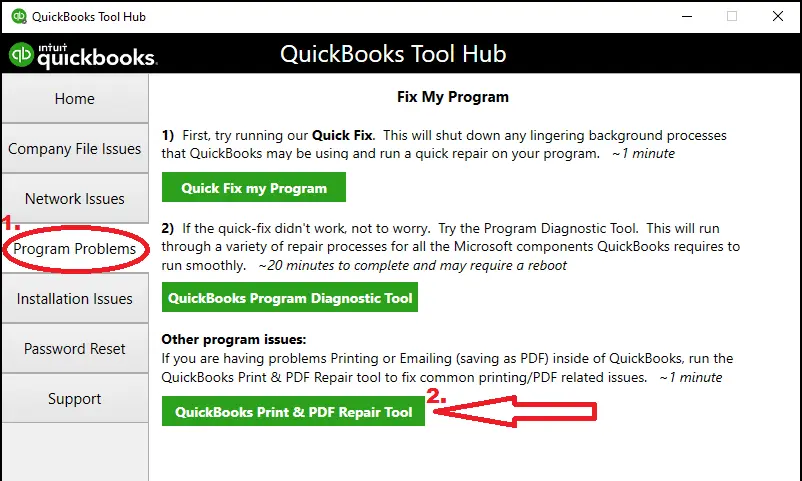
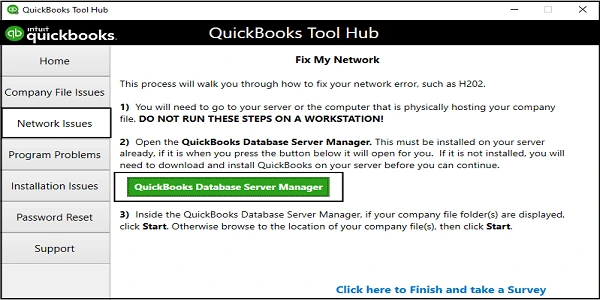
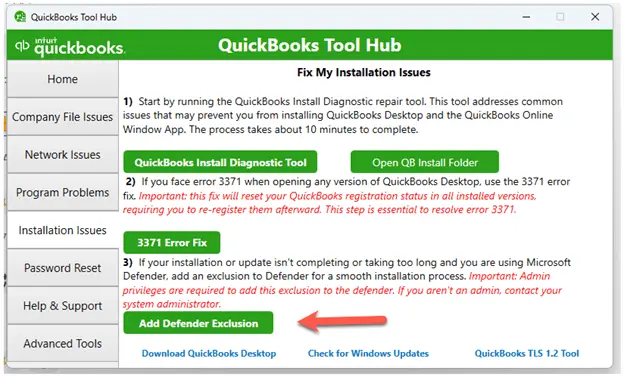
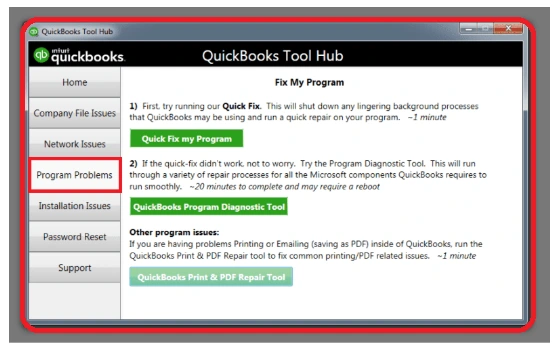
- Open QuickBooks Tool Hub.
- Select Installation Issues in the right pane.

- In the bottom right corner, select QuickBooks TLS 1.2 Tool.
- Click OK to open the TLS tool.
- Select Yes to agree to the EULA Agreement.
- Hit on Run.
- When the tool finishes, click Exit.
2. See if you can connect to a secure website
QuickBooks Desktop uses Google Chrome as the default browser for accessing and running background processes. It ensures you can access a secure website outside of QuickBooks Desktop, such as your bank’s sign-in page.
Note: If you can’t access a secure website outside of QuickBooks, reach out to IT or a QuickBooks expert.
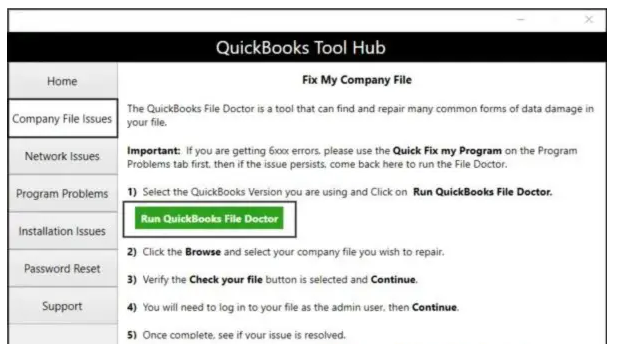
3. Run QuickBooks File Doctor
Repair your company file and resolve the network connectivity issues using QuickBooks File Doctor:
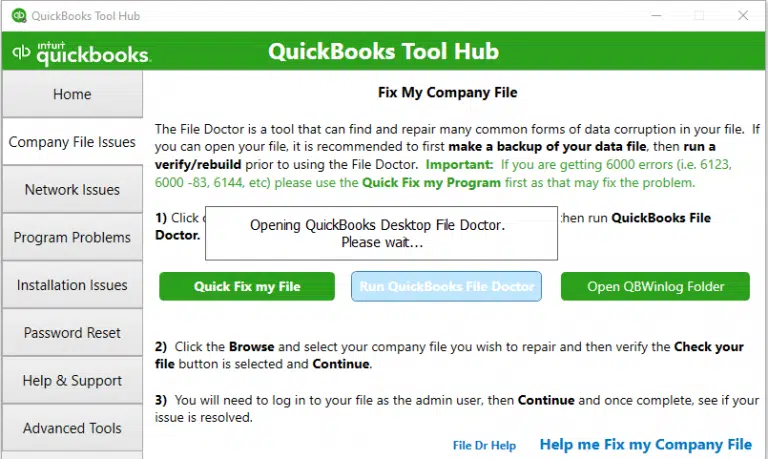
- Open QuickBooks Tool Hub.
- Click on Company File Issues.
- Select the Run QuickBooks File Doctor utility.
- The tool can take up to a minute or more to open; wait until then.
Note: If you can’t open QuickBooks File Doctor, manually search for QuickBooks Desktop File Doc and open it.
- Choose your company file from the drop-down menu in QB File Doctor.
- If you can’t see the file, click Browse and look for the data file.
- Select Check your file > Continue.
- Allow the access by entering the QB admin password > Next.
The scan time depends on the company file size and can even take up to 10-15 minutes. It may even say it was unsuccessful, even if it fixes your issues. When done, open QuickBooks and your company file.
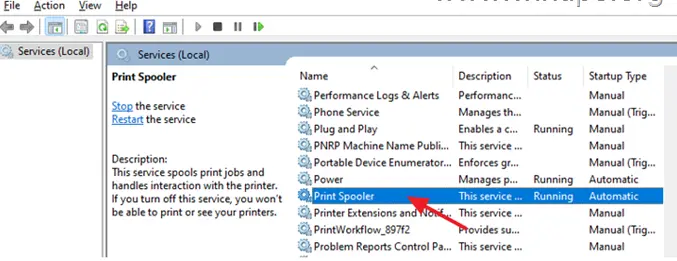
4. Configure Windows Firewall manually
Windows Firewall, a native security feature in Windows, controls network traffic by applying rules to system ports. If it detects a potential threat, it might block a related app, file, or folder, causing QuickBooks error 12007.
To fix this, configure the Windows Firewall to allow QuickBooks Desktop by adding exceptions for its specific files, folders, and ports. This will enable QuickBooks to communicate properly and complete updates without interference.
5. Add QuickBooks ports exception to your antivirus
If your antivirus blocks QuickBooks Desktop, you may not receive payroll or software updates. This occurs when QuickBooks is mistakenly identified as a threat, causing the software processes or programs to be blocked. To resolve this, create an exception for QuickBooks in your antivirus settings to ensure you can download updates without issues.
6. Reset the QuickBooks updates
Make sure that any previous updates don’t disrupt current QuickBooks processes such as payroll or software updates.
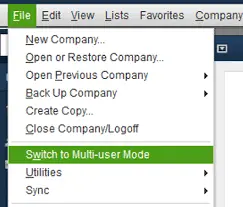
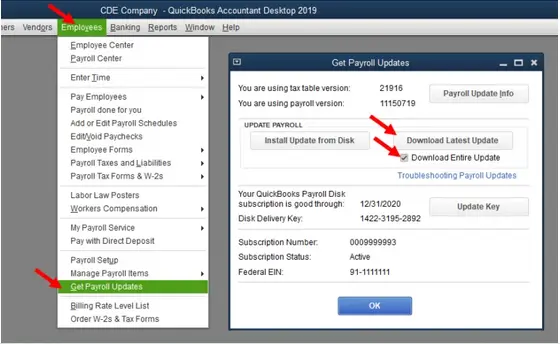
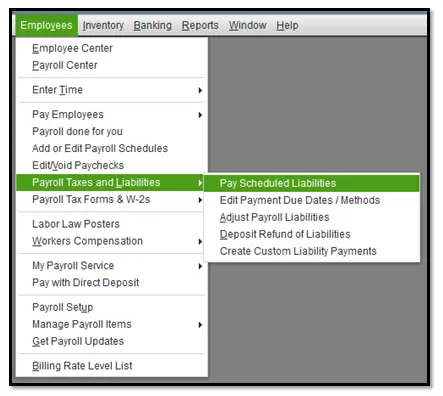
- Go to Help in the top menu bar.
- In the drop-down, select Update QuickBooks Desktop.
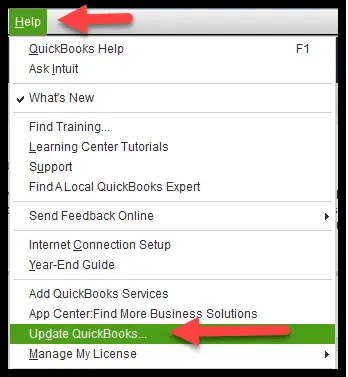
- Navigate to the Update Now tab.
- Mark the checkbox for Reset Updates.
- Click Get Updates.

- When done, restart your computer.
- Open QuickBooks and click Yes to install the updates.
7. Reinstall QuickBooks in Selective Startup
Switch to Selective Startup and then uninstall and install QuickBooks Desktop to fix error 12007 when updating.
Before reinstalling
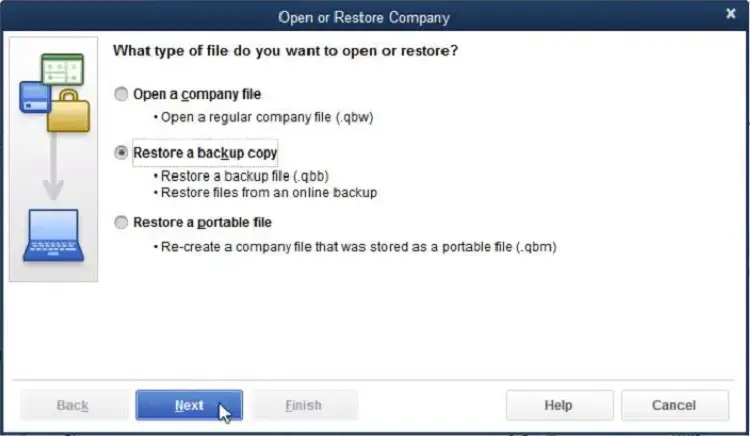
- Create a QuickBooks company file backup
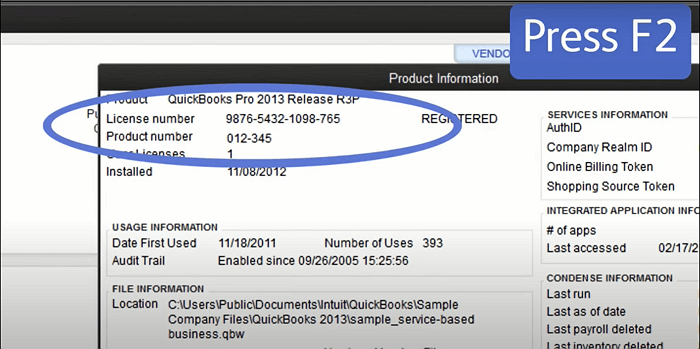
- Note down the QuickBooks Desktop product and license info
a. Switch to Selective startup
To ensure that no app or service interferes with your work, switch to selective startup. You can also consult your computer manufacturer or a Windows expert
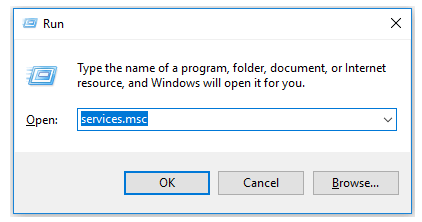
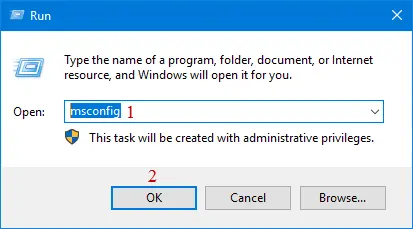
- Launch the Run command by pressing Windows+R.
- Type msconfig in the Run prompt.
- Click OK.
- Go to the General tab.
- Choose Selective startup and Load system services.
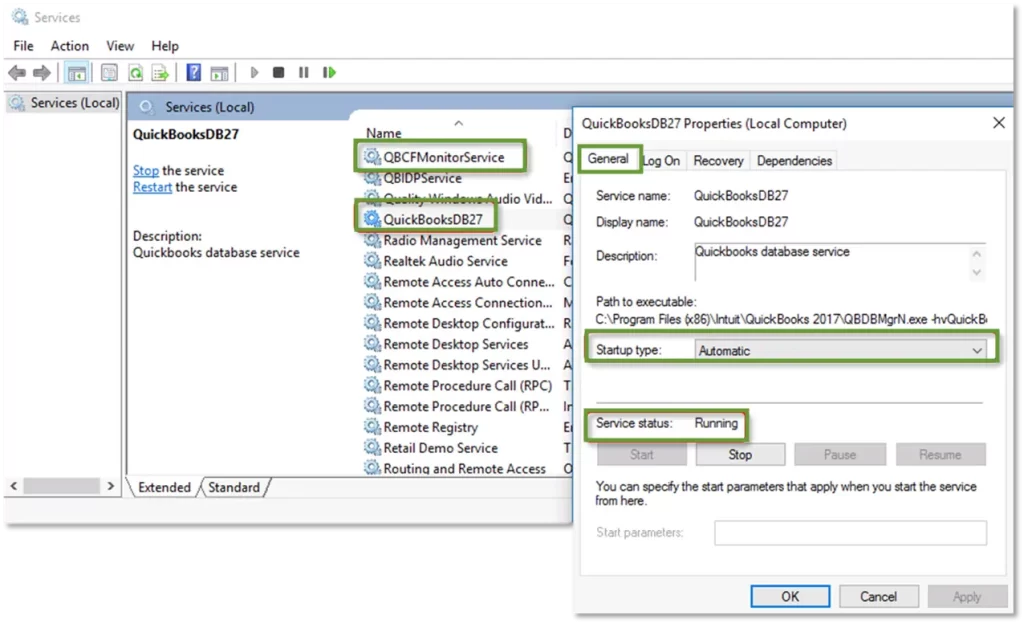
- Move to the Services tab.
- Mark the checkbox for Hide all Microsoft Services.
- Hit on Disable all.
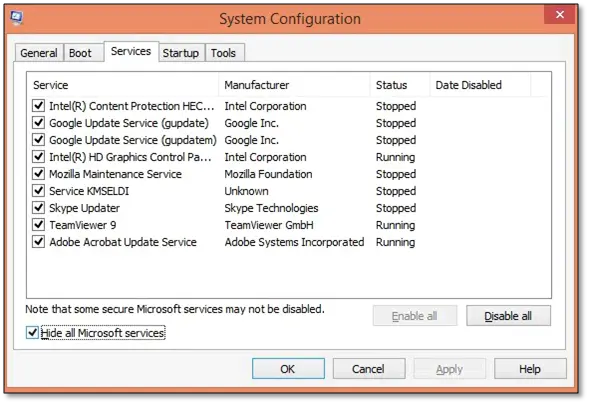
- Remove the mark from Hide all Microsoft services.
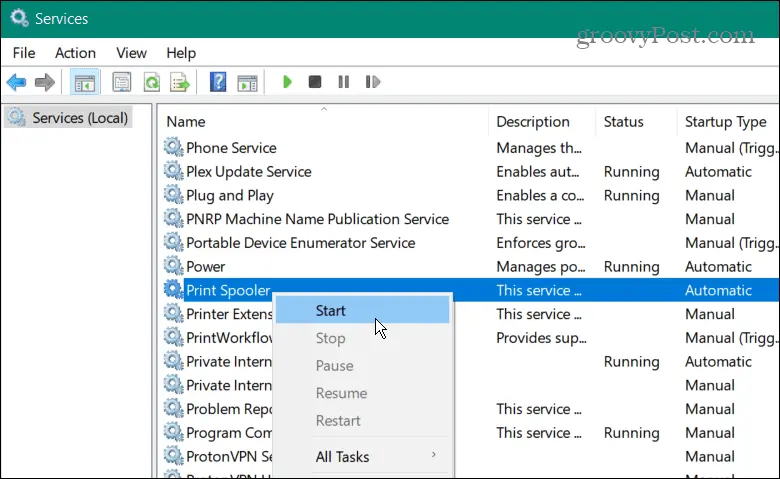
- Choose Windows Installer from the list of services.
- Click OK.
- Select Restart on the System Configuration window.
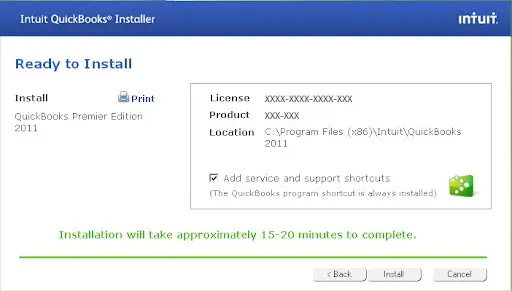
b. Uninstall or install QuickBooks Desktop
- Reinstall QuickBooks Desktop.
- Launch the Run command by pressing Windows + R.
- In the Run prompt, type msconfig.
- Click OK.
- Go to the General tab.
- Choose Normal startup.
- Click OK.
- Select Restart on the System Configuration window.
Conclusion
We’re concluding this blog after exploring why QuickBooks and payroll service updates are getting blocked and causing QuickBooks error 12007, along with steps to resolve the error.
We hope this guide has helped you download software or payroll updates smoothly. However, if the error continues, contact QuickBooks professionals at +1(866)500-0076 to discuss your concerns. Get expert help now!
Frequently Asked Questions
- What is error code 12000 in QuickBooks?
Error code 12000 in QuickBooks is a series of errors that appear when downloading software or updating payroll. It indicates that QuickBooks is unable to access the internet for tasks such as payroll or software updates.
- How can I resolve QuickBooks error code 12007?
You must address the internet connection issues by updating features such as TLS or re-configuring the Internet Explorer or other default browser settings. Also, ensure Windows Firewall or antivirus software isn’t blocking QuickBooks, and reset QuickBooks updates.
- When should you perform a clean install of QuickBooks?
Perform a clean install of QuickBooks when you encounter recurring software issues, incorrect installation, or damaged or corrupted program files that prevent software updates. Additionally, there are multiple installations of QuickBooks that hinder the software processes and cause disruptions to a smooth workflow.
- How do I fix an update install error?
To resolve an update error, restart your computer, resolve common internet connectivity issues, repair QuickBooks Desktop, and ensure that nothing is blocking the software update, such as Windows Firewall or antivirus software.