Quickbooks requires that you reboot loop error is the one that is surprisingly super common, yet the most frustrating error to occur while using Quickbooks. This error compels or forces the user to reboot their system multiple times, even if they have rebooted their system after the installation of Quickbooks, no matter how many times the user has rebooted their system.
What Triggers the Quickbooks Requires That You Reboot Loop Error?
These could be the reasons why this error keeps resurfacing on your system. The underlying causes are listed below:
- Other applications on your system might be hindering the installation process.
- An anti-virus on your system can hinder the installation or updating process.
- You are lacking adequate permissions, i.e., the user account you are using for the installation or for the process of updates might not have adequate permissions to carry out this action properly.
- If installation processes are failing, this could be due to incorrect internet settings, data corruption, or issues in the user profile itself.
- Having damaged or corrupted files can also be a problem while you are facing this QB error. These files could have been corrupted due to the system’s issues or by the system itself.
Parameters to Check if This Quickbooks Requires That you Reboot Loop Update
- These are some things to keep an eye on or check before you actually start troubleshooting the problem by taking proper steps. These basic things or faults might be hindering the process, or might be triggering quickbooks requires that you reboot loop 2025. The problems could be as follows:
- Make sure you are using the latest and updated version of QB.
- Make sure to suppress the QB application software.
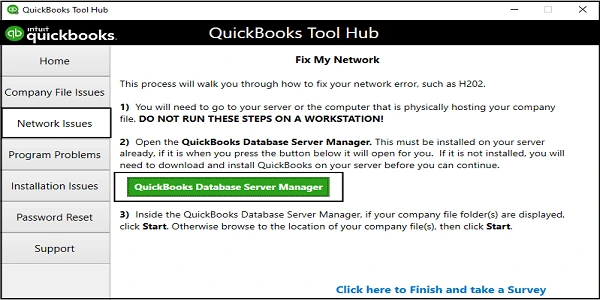
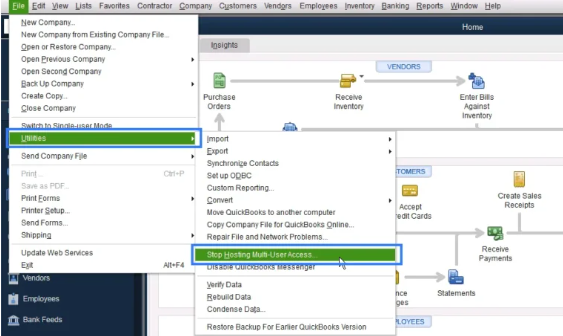
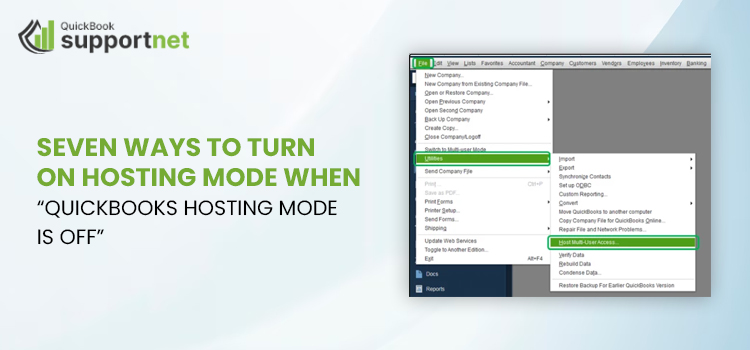
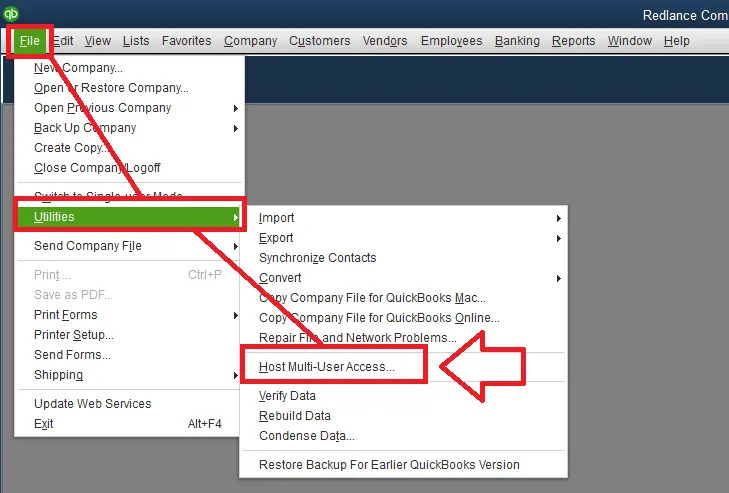
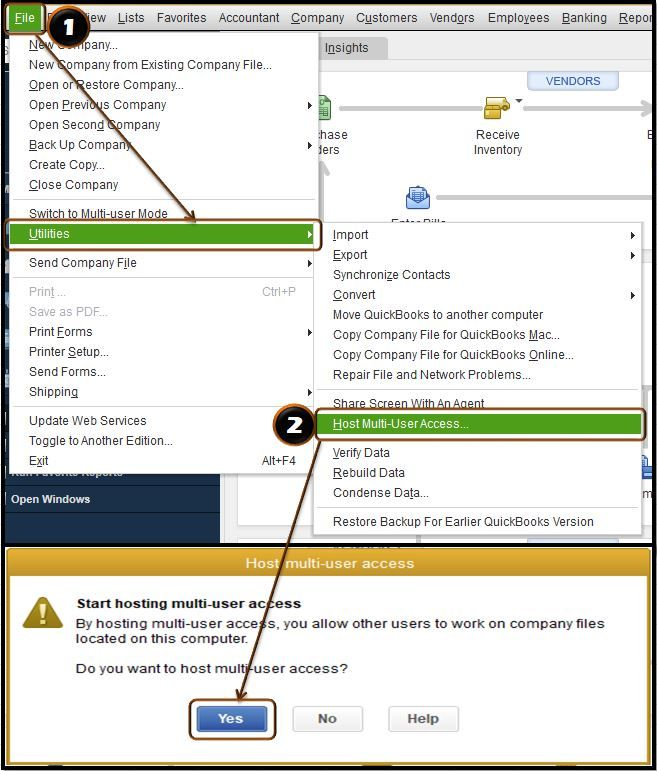
- Ensure that you turn off the hosting mode on the system you are using.
- Consider changing the names of the files if the names seem too long.
What Solutions Can be Carried Out? QuickBooks requires That You Reboot multiple Times.
There is an array of solutions that can be carried out in order to fix quickbooks, which requires that you reboot the loop. The list of solutions is given below, along with detailed steps to carry out in order to fix the problem. The solutions are given as follows:
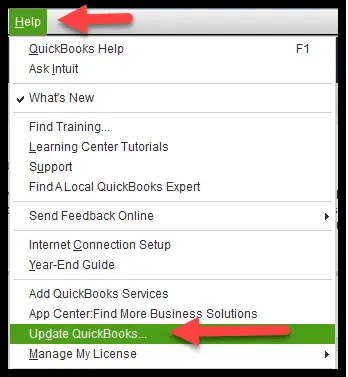
1. Make sure that you are QB with proper admin rights, and make sure that you make the updates manually
- As a user, you might not be able to update the software, as you might not have adequate permissions to do so.
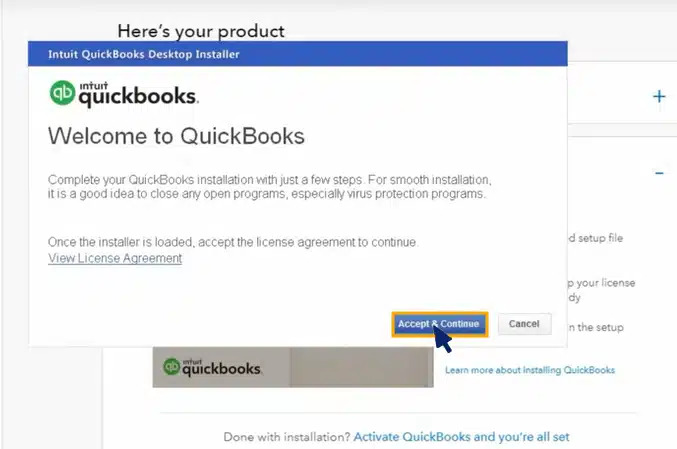
- Try to install the QuickBooks software as an administrator.
- Ensure that you close all QB windows.
- Go to the QB application icon on the desktop.
- Right-click the QB icon and select the Run as Administrator option.
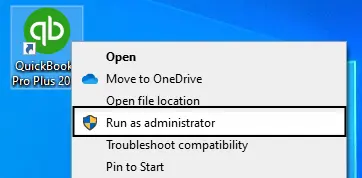
- Sign in to the QB profile as an administrator and check for updates and update the software.
2. Make sure that you suppress the QB software in order to eliminate the Quickbooks requirement that you reboot Loop Error
- Suppressing the QB software application on the desktop might help you resolve the issue you are facing. In order to start afresh with the application, suppressing the application software might prove helpful. Here is what you can do to suppress the application software.
- Hold and long-press the Ctrl key, and QB software opens. Select the Open Option.
- Long-press the Ctrl key until you see No Company Window, even if the QB application software keeps throwing tantrums, freezing, and closing itself.
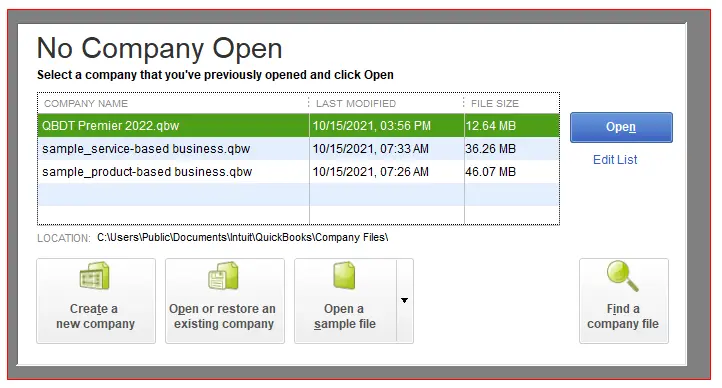
- Select the company file from the drop-down menu and try to restart the QB software again. If your problem has not been resolved yet, move to the other solution.
3. Make a New Windows Admin User Account
In order to perform any type of action on QB application software, one must have proper permissions to carry out those operations effortlessly, or else the user might have to face issues while using the QB application software. By following these steps, one will be able to create a new Windows admin user account. The steps are as follows:
- Go to the Start menu of Windows and then head to the Settings option.
- Then, in settings, go to Accounts and furthermore, to the Family and Other Users section.
- Choose the Other option and select the Add Someone Else to the PC option.
- In case you wish to create a local account, click on the option I don’t have this person’s sign-in information and select the option Add a user without a Microsoft account in the next window that appears.
- Fill in the Username, password, password’s hint, and the answers for the Security questions themselves, and then, hit the Next button.
- If you do not wish to create a password, click on Next.
- Your account is ready and will be visible in the other user’s section. Make sure that the account you have created is the main admin account.
- In order to change the Account Type, follow the same steps as given above. Go to the “Other Users” option and select “Account Type.”
- Select the Administrator option in the drop-down menu and restart your system.
- Afterwards, try to log in using the new details.
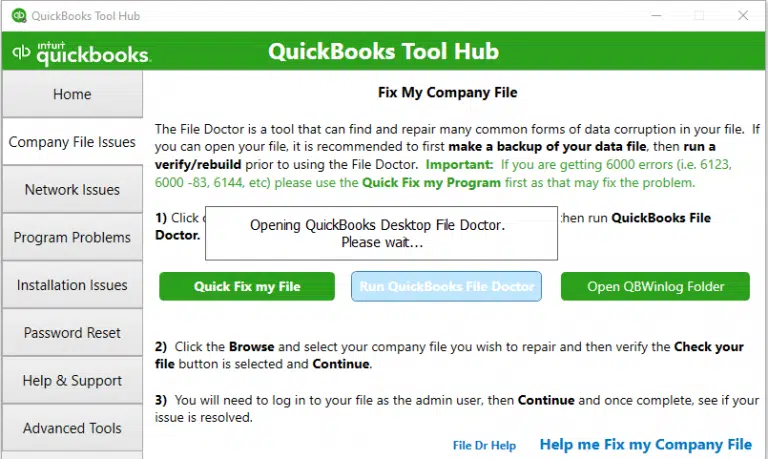
4. Try to open the company file via a different location
The possibility might be that the file you are trying to open, the location, or the pathway to where it is saved could now be corrupted or damaged, due to which it might show Quickbooks Requires That You Reboot Loop error. Follow these steps to move the file to a new and different location, and then re-try if your issue gets resolved or not. These are the following steps to move the file to a new location are given down below:
- Click the Windows+ E buttons to open the file explorer, or just double-click the File Explorer icon and head to the company file folder. The way is given below:
Users\Public\Public Documents\Intuit\QuickBooks\Company Files.
- Right-click the company file that has an extension of .QBW, and then copy it to the desktop in a new folder.
- Copy the file to the newly created folder.
- Try to open the file from the newly created folder and check if your issue has been resolved or not.
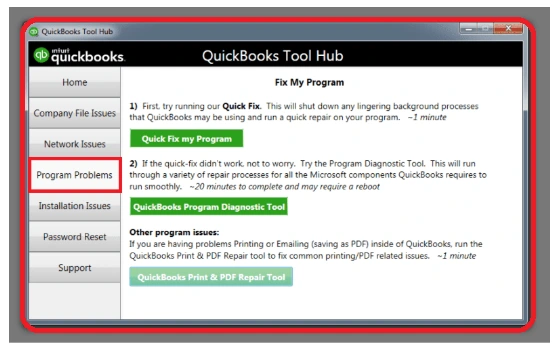
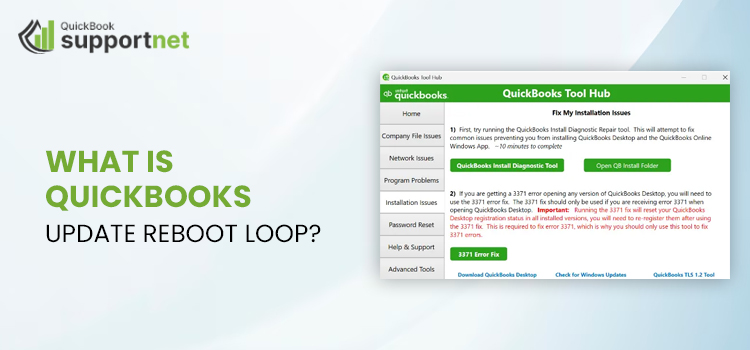
5. Use the quick fix my program tool
This tool can help you figure out or troubleshoot the problem that a user might face while using QB. The steps to use this tool are as follows:
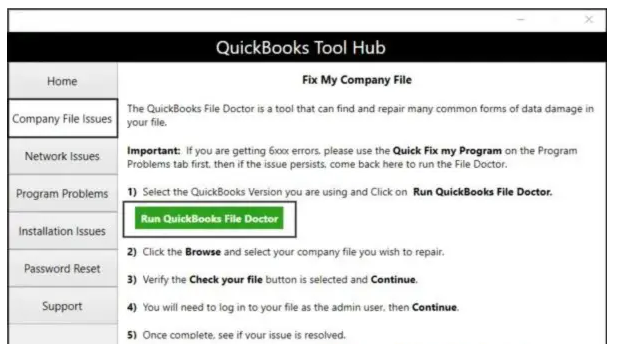
- Close QB desktop and install QB Tool Hub if you have not installed the Tool Hub.
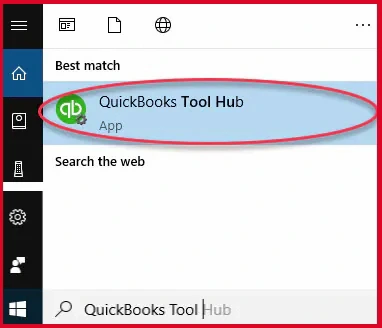
- In case you have already installed the Tool Hub, go to the Program Issues Tab.
- Select the “Quick Fix My Program” tool and let it diagnose the issue.
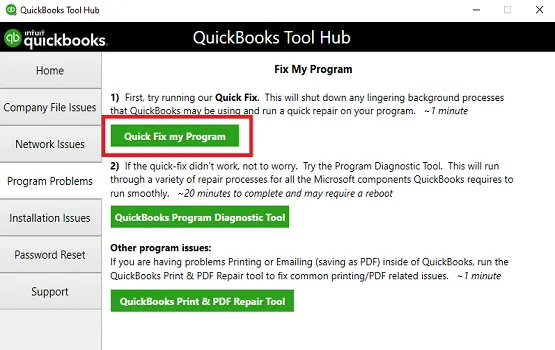
- Once the file gets repaired, close the Tool Hub and update the QB application software.
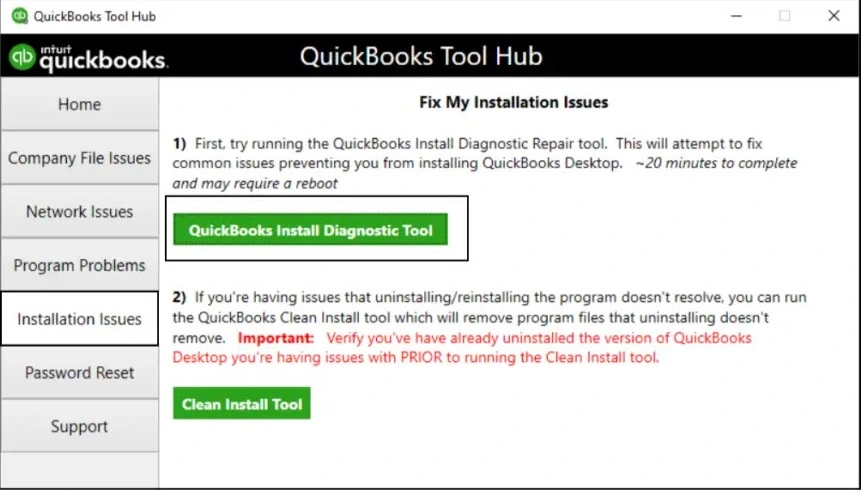
6. Use the QB program diagnostic tool
This QB program diagnostic tool can help the user in fixing an array of processes and programs that the QB desktop software application requires during the update process. In order to ensure that this tool functions properly, you should make sure that there are no extra open windows in QB Desktop.
7. Fix the .NET component
If the problem arises with the .NET component, the user would not be able to download, install, and update the QB software application, and to solve the issues with .NET components and framework, follow the steps given below:
- Reinstall the .NET Framework component
- Press the search option, besides the Windows icon on your system.
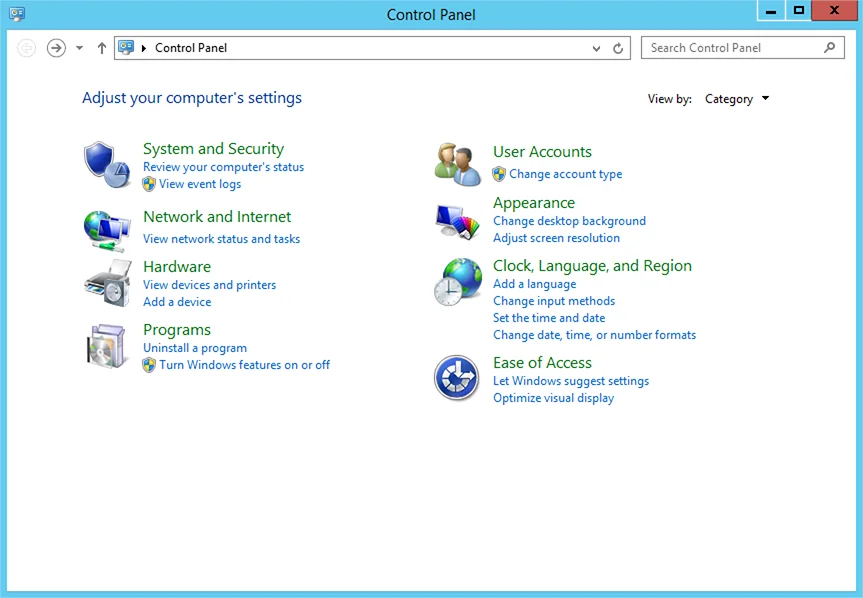
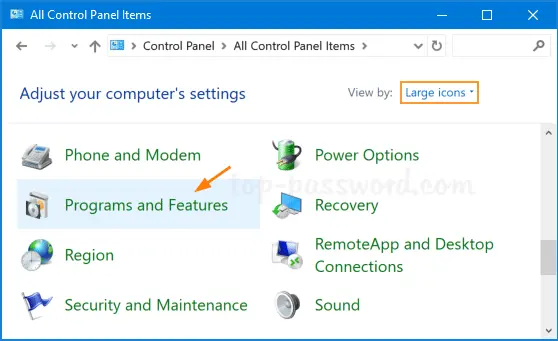
- Type Control Panel in the search bar.
- Go to the Programs option and then head to Programs and Features.
- You may turn on or off the Window Features.
- Find the .NET components you are having issues with and deselect them.
- Press the OK button.
- Now, restart your system and reinstall the components and frameworks you have uninstalled.
- Go to Control Panel and then to Programs and Features.
- You may turn on or off the Window Features.
- Click the check box next to Microsoft .NET Framework (3.5.x or 4.x.x).
- Click OK and let the process happen.
- Now, try to update QB Desktop.
8. Use the .NET Framework repair tool
This tool by Microsoft helps in solving common issues that may occur during the installation or updating process of this particular framework.
9. Repair the TEMP folder settings
This folder contains a huge number of temporary files during the installation and updating process of the QB software application. Change the TEMP folder settings by using the steps mentioned below:
Step 1
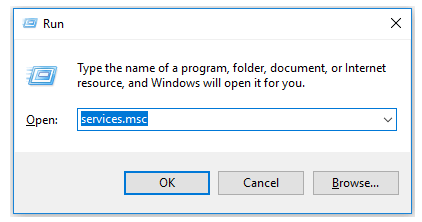
Press the Windows+R buttons to open the run window and then type %TEMP%.
Step 2
Click Enter and then right-click the empty space in the folder.
Step 3
Go to Properties and then go to the Security Tab.
Step 4
Make sure that now Usernames have Full Control in the Allow column.
Step 5
Tap OK and update the QB desktop.
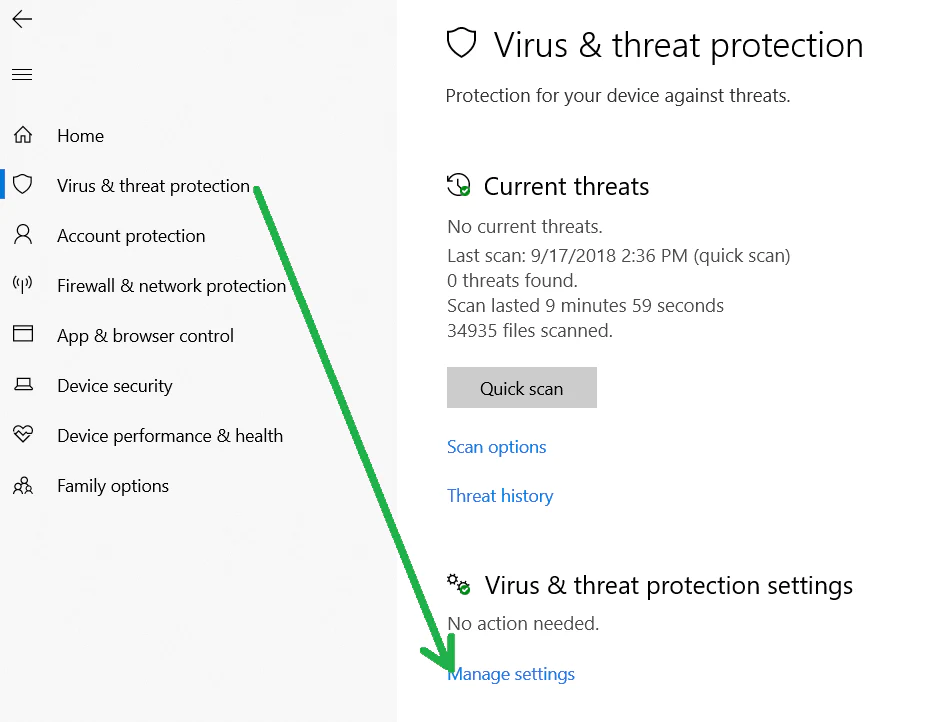
10. Turn off Programs in Windows Firewall
The usage of Windows firewall can disrupt the process of downloading, installing, or even updating the QB desktop. Due to the activation of the firewall, you might see the quickbooks requires that you reboot loop error.
In order to resolve this issue, make sure that you make Exclusions for the QB Program in Windows Firewall.
Conclusion
In this blog, we have summarized what could have caused the Quickbooks Requires That You Reboot Loop and how to fix this problem.
In case your issue does not get resolved even after reading this blog, consider calling our experts on our Toll-Free Number Call Us : +1-866-500-0076. Our experts will be happy to help you.
Frequently Asked Questions
1. Can you start over in QuickBooks?
Sometimes you need to start fresh with a new QuickBooks Online company. If you’re new, you can delete your data and start again. If you’ve used QuickBooks for more than 60 days, you’ll need to create a new file.
2. What is QuickBooks view-only mode?
You can view reports, but can’t create any transactions. We recommend you export your data before you cancel your subscription.
3. How do you lock QuickBooks?
To do this, here’s how:
- Go to the Gear icon at the top.
- Select Accounts and Settings.
- In the left menu, choose Advanced.
- Go to the Accounting section and click the pencil icon.
- Turn on the Close the books switch.
- Enter a closing date.
- Enter a closing date password.
4. How do I deactivate QuickBooks Desktop?
Open QuickBooks and go to “Help“> Deactivate QuickBooks Desktop.”
5. What is the QB tool hub?
The QuickBooks Tool Hub is a free desktop application developed by Intuit to help users resolve common QuickBooks issues.
6. How can I contact experts if my issue is not resolved?
In case you are still facing issues with QB in any way, you can contact our experts on our Toll-Free Number +1(866)500-0076.