QuickBooks software was developed to make finance and accounting easy for its users. This is a one-stop-shop for all your needs. However, the software has been prepared in the best possible way, but like any software, QuickBooks faces errors and glitches, such as QuickBooks error 6147,0. This is when it shows alerts, and you need to fix these errors to resume your work.
Know About QuickBooks Error 6147,0
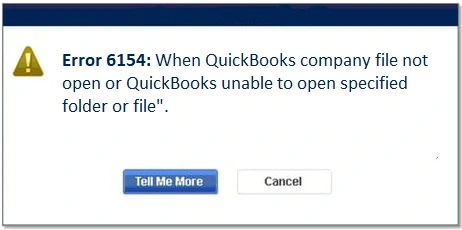
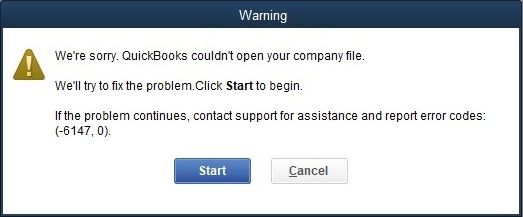
QuickBooks error 6147 ,0 occurs when there is an issue in opening a company file. An error window pop-ups on your screen in such a situation. This issue might even make your QuickBooks stop working. Additionally, there is a slight possibility that your Windows might stop responding, and the hardware devices might start to lag.
What Causes QuickBooks Error 6147,0
There can be a few reasons why QuickBooks has failed to open your company file. They are:
- The error can occur if your QuickBooks file is corrupted
- QuickBooks error 6147, 0 can also happen if the file is damaged
- In addition to that, you might face the issue if you are using a network drive to restore your data
- in case you haven’t moved your company file to the QuickBooks installation file.
- If the name of your QuickBooks company file has extended the character limit.
- The Windows version you are using is outdated.
How To Resolve 6147,0 in QuickBooks?
If you are also encountering QuickBooks Error 6147,0, you might have to go through the five solutions mentioned below. You can get the error fixed within no time if you follow the steps explained later perfectly.
Solution 1: Rework On Damaged .ND and .TLG Files
Damaged QuickBooks .ND and .TLG files can be one of the major issues behind the error. Renaming and recreating these files might fix the error.
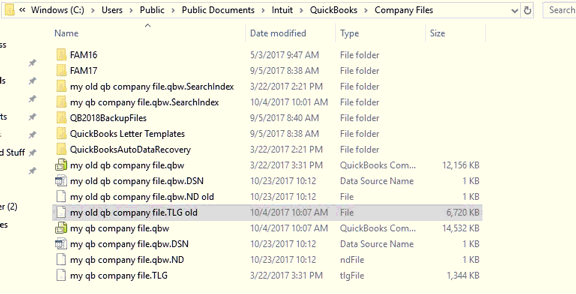
- Open the QuickBooks Installation folder and look for the .ND and .TLG files.
- These files must have the same name as your company files.
- Once you see the files in the folder, right-click on them one by one and edit the file name.
- You need to add .OLD at the end of each file’s name
- After you are done with it, save the file and head to QuickBooks again.
Solution 2: Edit QuickBooks Company File Name
After you are done editing the installed files, and in case you fail to fix the error, you must now check the company files name and make the required edits.
- Navigate the folder with the company file.
- Look for the document you are working with and right-click on the same.
- Now, from the list of available options, hit Rename.
- Next, you need to make sure that the entire name of the file is within the maximum character limits, i.e., 64.
- In case the name is more than the required character limit, then cut it short and make it meet the requirements.
- Once done, open QuickBooks and try to open the file again.

Solution 3: Relocate the QuickBooks Company File
After editing the names of both the company as well as the installed file, if you are still not able to get to the company, check if the QuickBooks company file is in the wrong folder.
- Head to QuickBooks and hit the F2 key on your keyboard.
- The system will take you to the Product Information Window.
- Now, you will see the file location under the File Information section. Write it down somewhere.
- You now need to check if the file is still in the QuickBooks folder.
- In case you do not find the file there, then look for it in the search box of Search Programs and Files.
- You need to look for all the .qbw files and then right-click on the QuickBooks company file.
- From the options, select File Location and move it to the QuickBooks folder.
- Once done, you can now try to open the file in QuickBooks again.
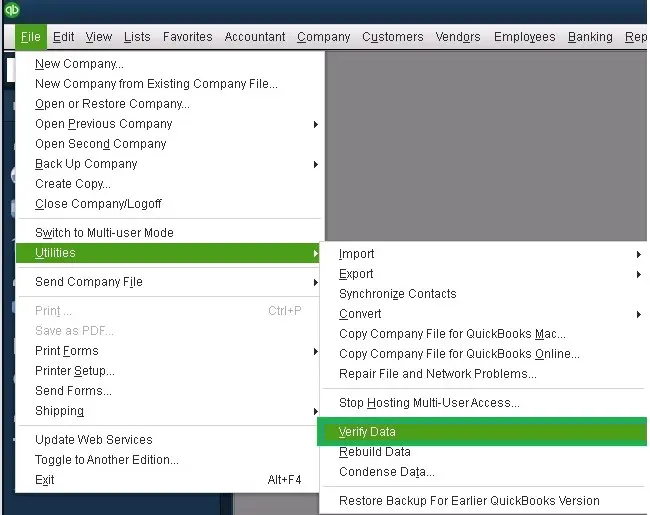
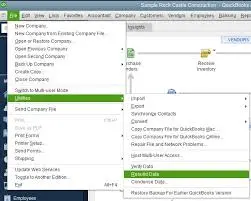
Solution 4: Make Use Of The Rebuild Utility Tool
To fix QuickBooks Error 6147,0, you can also rebuild the data utility and verify it. You can do it with the following steps:
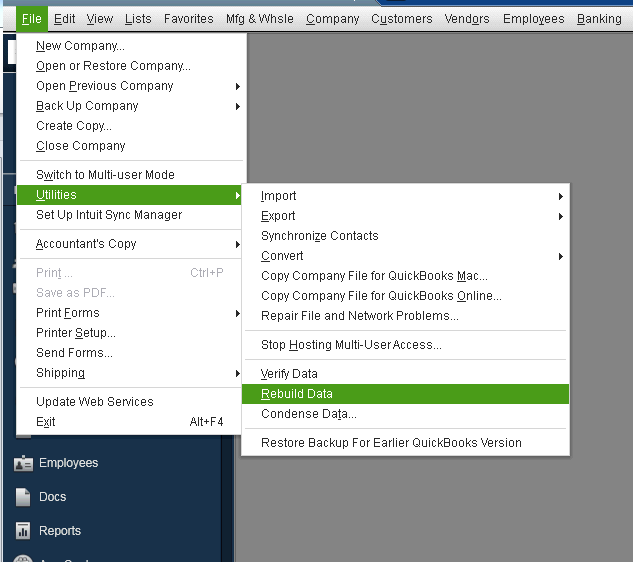
- Open QuickBooks and head to the Menu.
- There, look for the Utilities option and select that.
- Now, click on the rebuild utility, and a window will pop up alarming you about the backup of the company file. Hit OK.
- Finally, select OK again when the screen shows the message “QuickBooks is not responding.”
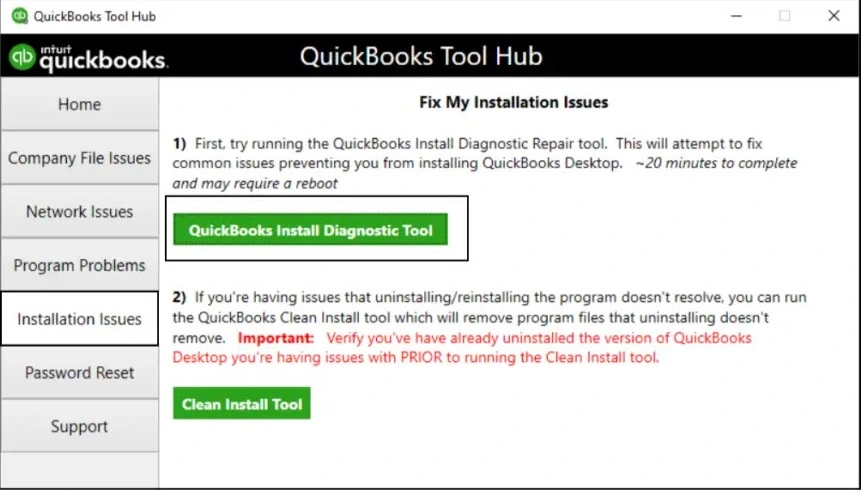
Solution 5: Install QuickBooks Tool Hub
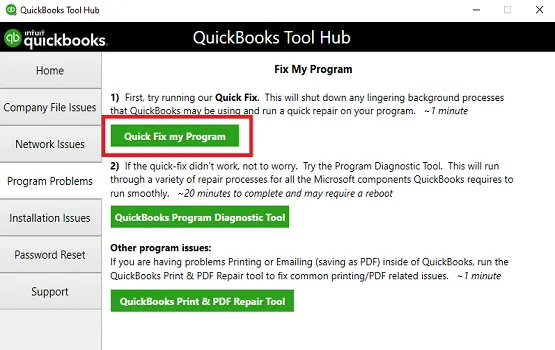
QuickBooks Tool Hub is not just to fix Edit QuickBooks error 6147,0. This can come in handy many times. But for this error, download the tool hub to run the QuickBooks file doctor tool.
- The very first step here is to install the QuickBooks Tool Hub.
- Once you save it, open the file and install it. You will find the instructions on your screen.
- Make sure that you agree to the terms and conditions to start the software.
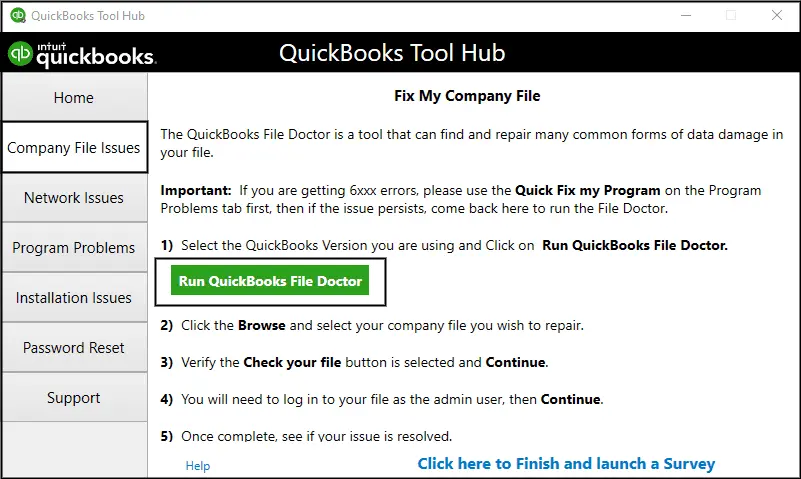
- Now, head to the Tools Hub and click on Company File Issues.
- At last, run the QuickBooks File Doctor, and it will start looking for the damaged file and will repair it too.
Read more : QuickBooks Error 80070057
Closing Statement
There is a possibility that you might need to go through all the above-mentioned solutions to resolve QuickBooks error 6147,0. For some, it might just be the file name or its location. But the bright side is that none of these solutions take much time and, therefore, will fix the problem within no time.
If you are, however, still stuck and unable to open your QuickBooks Company File, you can always get in touch with our team of professionals at info@quickbooksupportnet.com and ask for help. Our team holds lots of experience in the field and has adequate knowledge. We will assist you in the best way possible and will help you until we resolve your QuickBooks error 6147,0. You can also ask our executive to help you with any other QuickBooks related issue.
FAQs
1. What is the need to rename QuickBooks .ND and .TLG files?
.ND and .TLG files in QuickBooks that helps QB to look for a company file, even in a multi-user environment. Renaming and recreating these files can help you fix errors like QuickBooks error 6147,0.
2. What does an unrecoverable error means?
An unrecoverable errors are the one that are not pre-registered and can not be fixed in any way. These usually occur when you are executing a program or a code.
3. Why does unrecoverable error occur?
An unrecoverable error might occur due to missing QuickBooks update or an updated version of Windows.
4. How can you fix QuickBooks error 6147,0?
You can perform 5 solutions to resolve QuickBooks error 6147,0:
- Reworking On Damaged .ND and .TLG Files
- Editing QuickBooks Company File Name
- Relocating the QuickBooks Company File
- Making Use Of The Rebuild Utility Tool
- Installing QuickBooks Tool Hub